In this tutorial, we are going to learn about creating, using, and configuring a board in JIRA Agile. Boards are needed to view and work on the issues very smoothly with ease. A Board in JIRA can display issues from one or more projects. In JIRA, you can create a new board for yourself or use a board that has been created by someone else. JIRA Agile has two types of boards known as Scrum board and Kanban board.
Kanban Board: Kanban board focuses on visualizing your workflow and limiting work-in-progress to facilitate incremental improvements to your existing process. Therefore it is used by the teams that focus on managing and constraining their work-in-progress. It does not have a Backlog screen because, in Kanban boards, work is not planned by using the discrete-time periods or versions.
Scrum Board: Scrum board focuses on planning, committing, and delivering time-boxed chunks of work called Sprints. It is used by the teams which plan their works in sprints.
Let’s understand these JIRA Agile boards in detail.
Kanban board:
In JIRA, we can create a Kanban board for a particular release version which helps in very smooth tracking of the issues associated with a particular release version. As discussed earlier, Kanban focuses on visualizing your workflow and limiting work-in-progress to facilitate incremental improvements to your existing process. To create a Kanban board, below are the steps.
Step 1: Click on the (…) icon present on the top left corner of the Agile board’s page which will ask you to create your board as shown in the below screenshot.
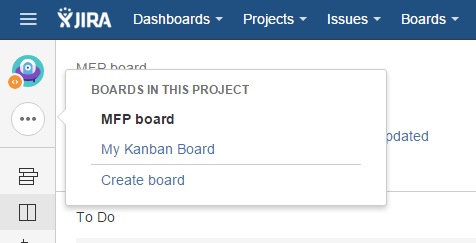
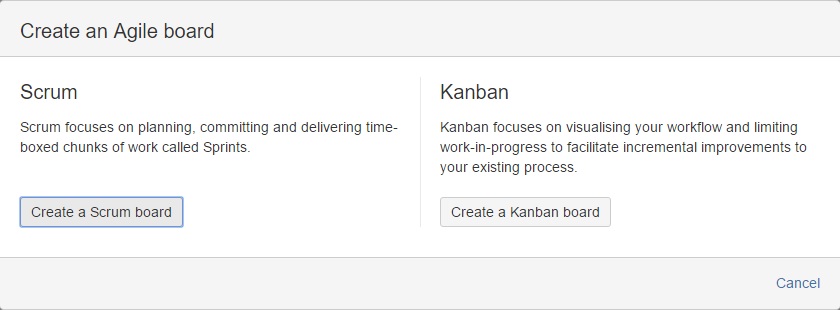
Step 2: Click on “Create board”, it will open up the dialogue box as shown below. It shows you two options either to create a scrum board or a Kanban board.

Step 3: Click on the “Create a Kanban board”. To create your Kanban board.
Step 4: It will ask you to choose a board from either an existing project or an existing saved filter as shown in the below screenshot.
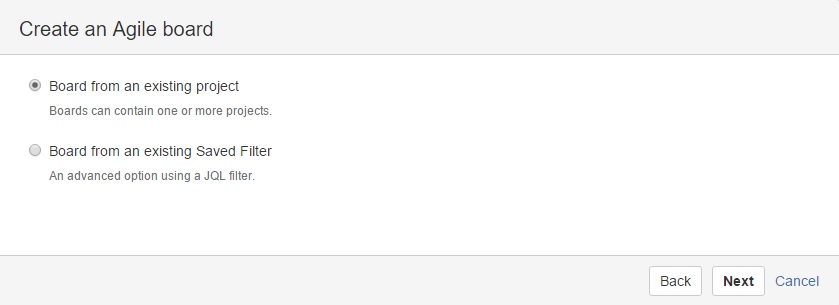
Choose an option and click on the next button to proceed. Here I chose a board from an exciting project. Such boards can contain one or more projects.
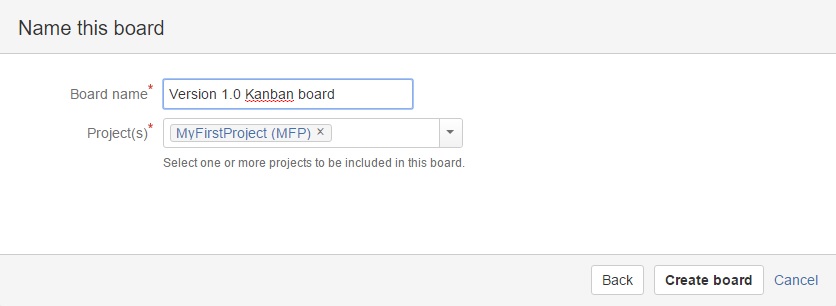
Step 5: Lastly, it will open up a dialogue box where it will ask you to enter the name of the board and select the project from the dropdown menu as shown in the below screenshot. Give a suitable name and choose the project and then click on the “Create Board” button to create a Kanban board. Also, note that the back button will take you to the previous page of “Create an Agile board” and cancel the link will close this dialogue box.
Step 6: You will see the success dialogue box when your Kanban board has been created successfully as shown in the below screenshot.

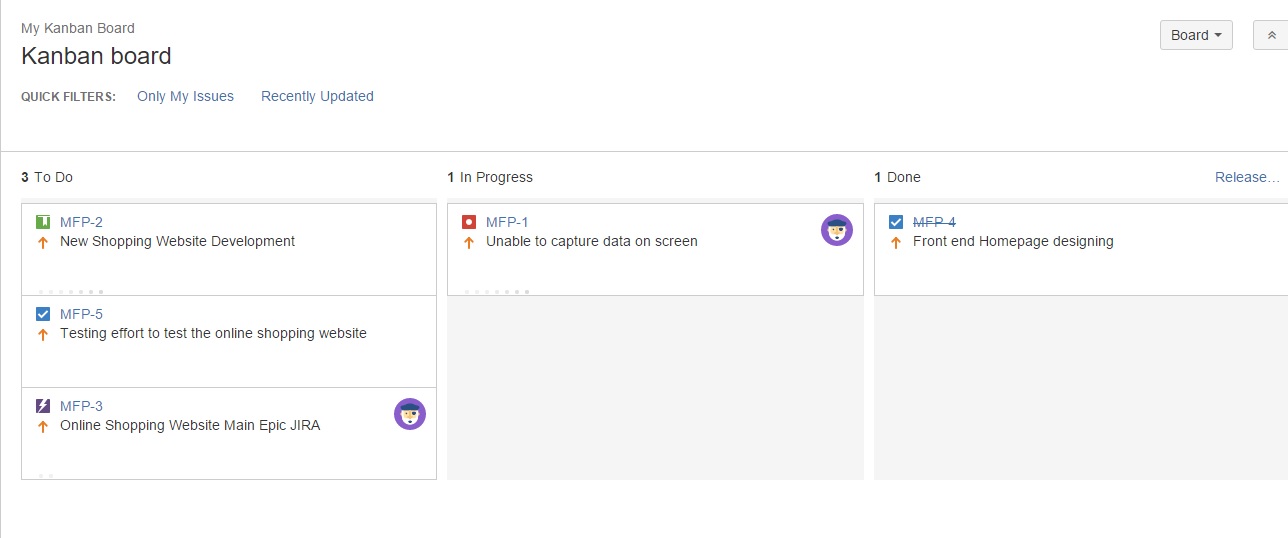
The screenshot below demonstrates a Kanban board which is created for the release version 1.0. It shows the progress of all issues which are clubbed under release version 1.0.
Scrum Board:
As discussed earlier, the Scrum board focuses on planning, committing, and delivering time-boxed chunks of work called Sprints. To create a Scrum board, below are the steps.
Step 1: Click on the (…) icon present on the top left corner of the Agile board’s page which will ask you to create your board as shown in the below screenshot.
Step 2: Click on the “Create board” link, it will open up the dialogue box as shown below. It shows you two options either to create a scrum board or a Kanban board.
Step 3: Click on the “Create a Scrum board” to create your scrum board.
Step 4: It will ask to choose a board either from an existing project or an existing saved filter as shown in the below screenshot.
Step 4: Choose an option and click on the next button to proceed. Here I chose a board from an exciting project. Such boards can contain one or more projects. Also, anytime here you can choose the back button to navigate to the previous screen or click on the cancel link to close the current dialogue box or screen.
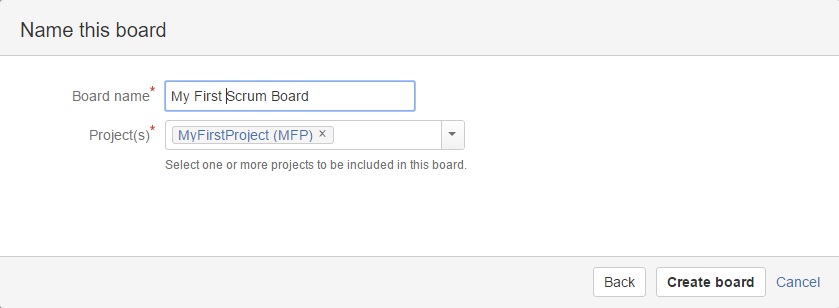
Step 5: Lastly, it will open up a dialogue box where it will ask you to enter the name of the board and select the project from the dropdown menu as shown in the below screenshot. Give a suitable name and choose the project and then click on the “Create Board” button to create a scrum board. Also, note that the back button will take you to the previous page of “Create an Agile board” and cancel the link will close this dialogue box.
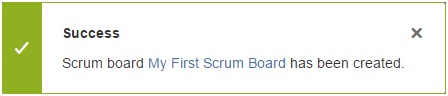
Step 6: You will see the success dialogue box when your scrum board has been created successfully as shown in the below screenshot.
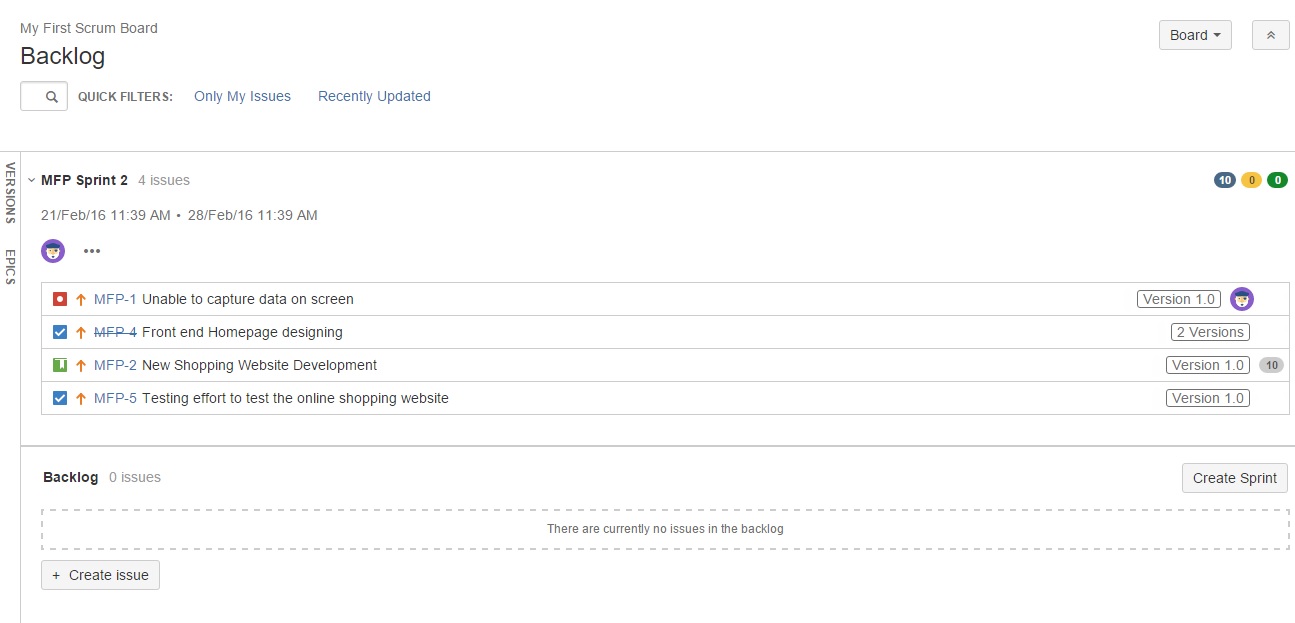
The screenshot below demonstrates a scrum board that displays a current sprint “MFP Sprint 2” where it lists down all the issues present in it along with their associated version. Also at the bottom of the scrum board, there is a Backlog section that has no issues present in it. Using scrum board you can look into individual issue descriptions on the right-hand side by clicking on the issue. Tabs such as EPICS and VERSIONS are present on the left-hand side as shown in the below screenshot.
Depending on the project need in terms of their focuses on the workflow or the planning as discussed before in this tutorial, a suitable board can be created and used for tracking. Both boards can be managed easily by leveraging the JIRA tool drag and drop feature and generating the various kinds of reports.
Viewing of Project Boards:
In JIRA Agile, we may create as many boards as we want with different names for both Kanban and Scrum boards. Below are the steps to view the existing boards.
Step 1:Click on the Agile link’s down-arrow in the top navigation bar, it will display all the available boards as shown in the below screenshot.
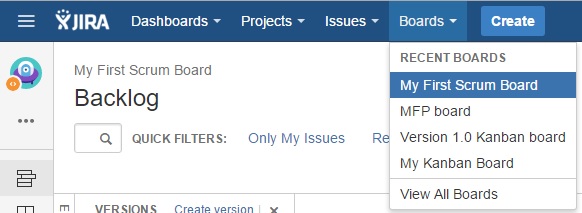
Step 2: Click on your preferred board from the resulting dropdown menu, it will open up your desired existing board.
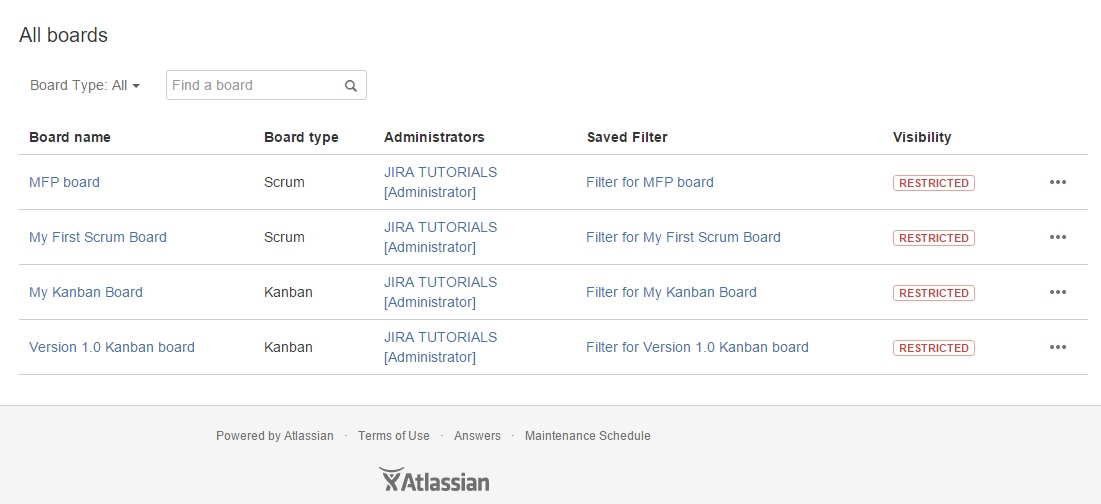
Step 3: In the Step 1 dropdown menu, there is another option to view all boards. After clicking on that option, JIRA will display all the available boards in a tabular manner as shown in the below screenshot.
⇓ Subscribe Us ⇓
If you are not regular reader of this website then highly recommends you to Sign up for our free email newsletter!! Sign up just providing your email address below:
Happy Testing!!!

1 thought on “Creating, Configuring And Using A Board In Jira”
Good Article and very understanding!