In this tutorial, we are going to learn about JIRA site administration, user management, group management, application access, sign up options, and password policy.
To begin with, let’s understand the user management in JIRA. Below are the steps.
Step 1: Login into the JIRA with administrator credentials.
Step 2: Navigate to the left top of the JIRA page after login and click the setting icon.
Step 3: JIRA system will display the option User management in the dropdown menu as shown in the below screenshot.

Step 4: Click on the User management, it will open the site management with Users page displayed as shown in the below screenshot.
Adding Users in JIRA:
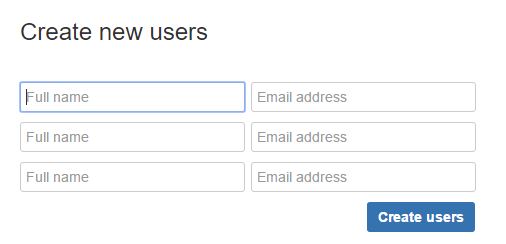
In the site administration, open the Users page following the steps discussed before. It will ask you to enter the Full Name and the Email address of the team member. Enter at least one team member detail and click on the Create users button to finish the creation of the user as shown in the below screenshot. All the JIRA users list will be visible at the bottom of the page with the full name, rights, username, Email address, and Last session. Admin can deactivate the user after clicking the deactivate link present in the last column of the user list.
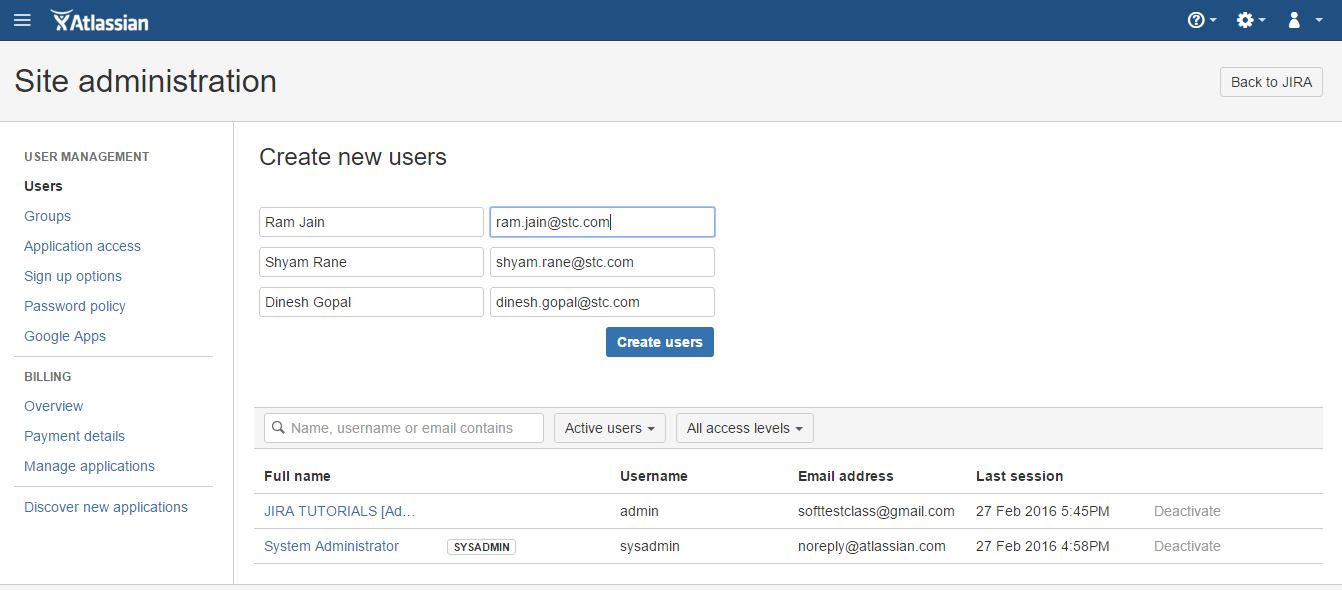
The below screenshot shows the list of users added to JIRA. JIRA has sent an invitation to these users on their email id. Resend option present in the last column of the users allows resending the invitation email to these newly added users again.
Groups Creation:
JIRA allows creating various groups in the agile project. It could be a testing team, a development team, a production support team, etc. Below are the steps to create groups in JIRA.
Step 1: Login into the JIRA with administrator credentials.
Step 2: Navigate to the left top of the JIRA page after login and click the setting icon.
Step 3: JIRA system will display the option User management in the dropdown menu, click on that.
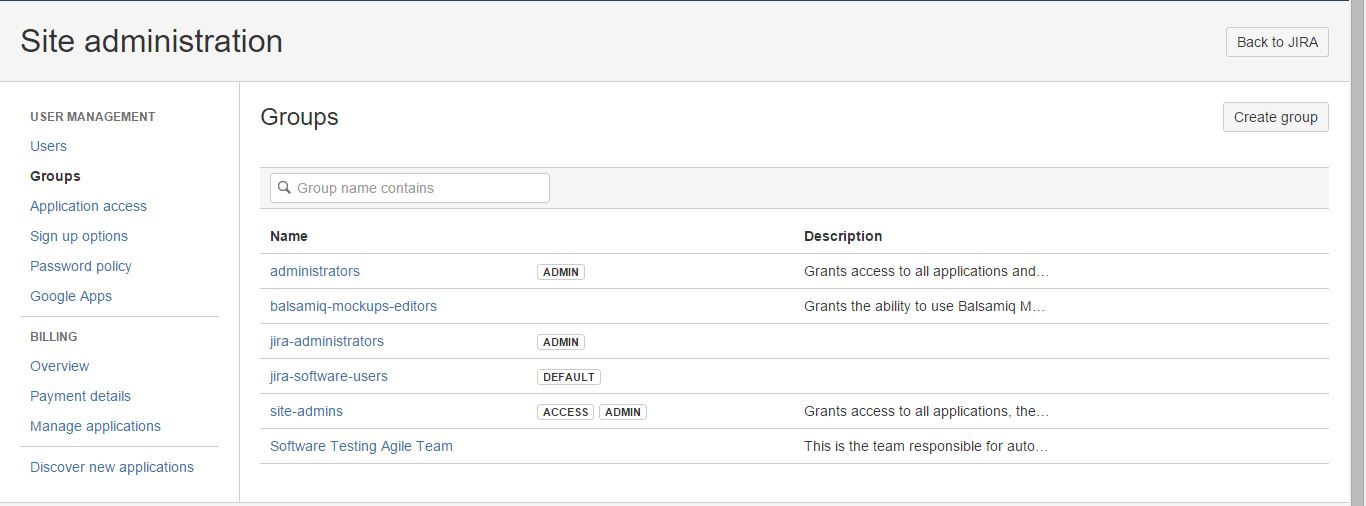
Step 4: It will display the Users page with Groups link present on the left-hand side. Click on the Groups link. It will display the Groups screen.
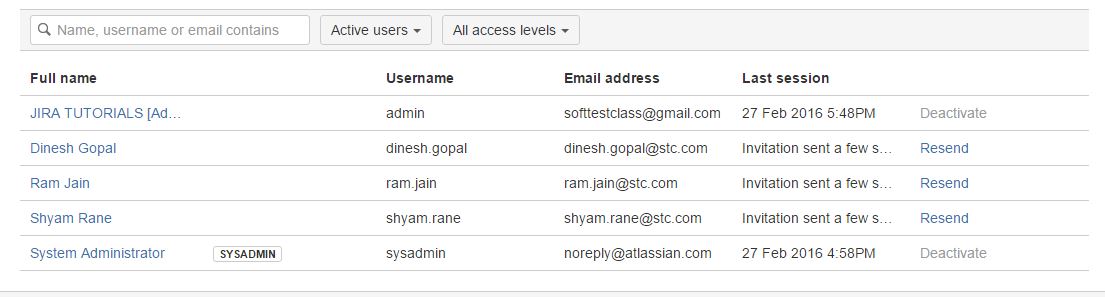
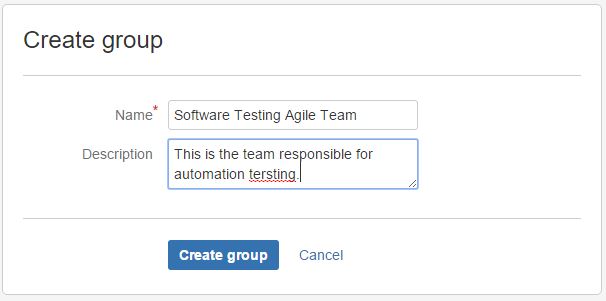
Step 5: On the Groups screen, click on the Create Group button present on the top right corner of the screen. It will open up the below dialogue box asking you to enter Name and description of the group.
Step 6: Enter the desired details in these fields and click on the Create group button to finish creating the group in JIRA.
Note that group Name is the mandatory field, however, the description is the optional filed. If you do not want to create the group at this step then click on the cancel link to close this create group dialogue box.
Adding team members to the group: It involves below steps.
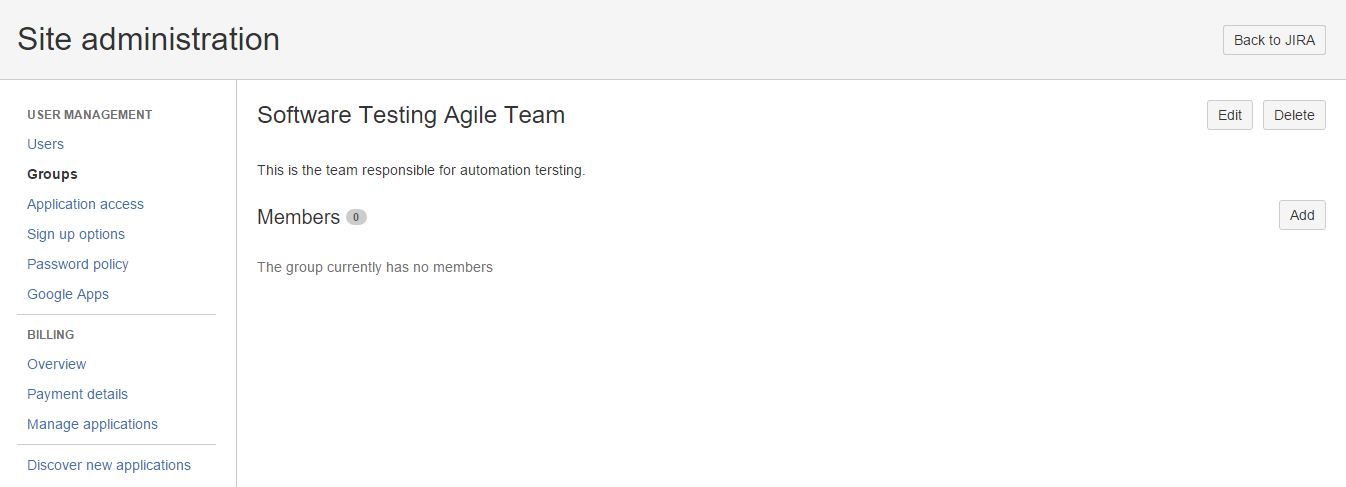
Step 1: After you have created a new group or to the existing group, click on the Add button present on the right-hand side as shown in the below screenshot.
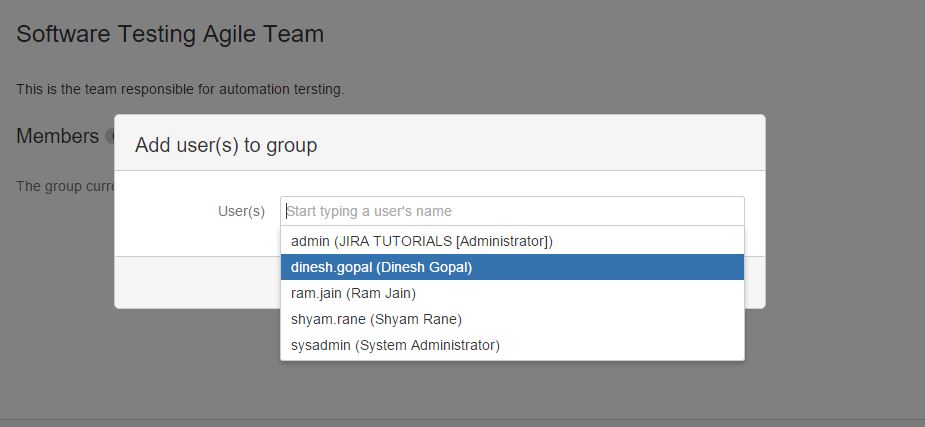
Step 2: It will open up a dialogue box Add user(s) to a group as shown in the below screenshot. When you take the focus on the User(s) text box, it will start displaying the available users in JIRA which could be added. JIRA automatically searches for the user when you start typing the letters into the text box.
Step 3: You can add more than one user to a group at once as shown in the below screenshot.
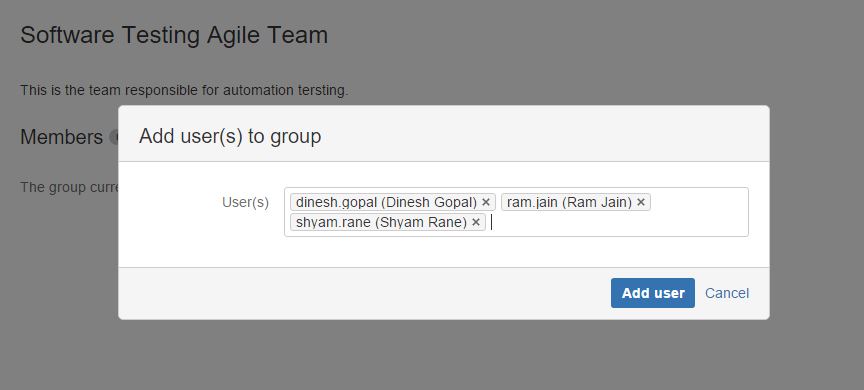
Step 4: Click on the Add user button to finish adding the user(s) to the given group. Note that, if at this step you have decided not to add any user then you can close this dialogue box after clicking on the cancel link.
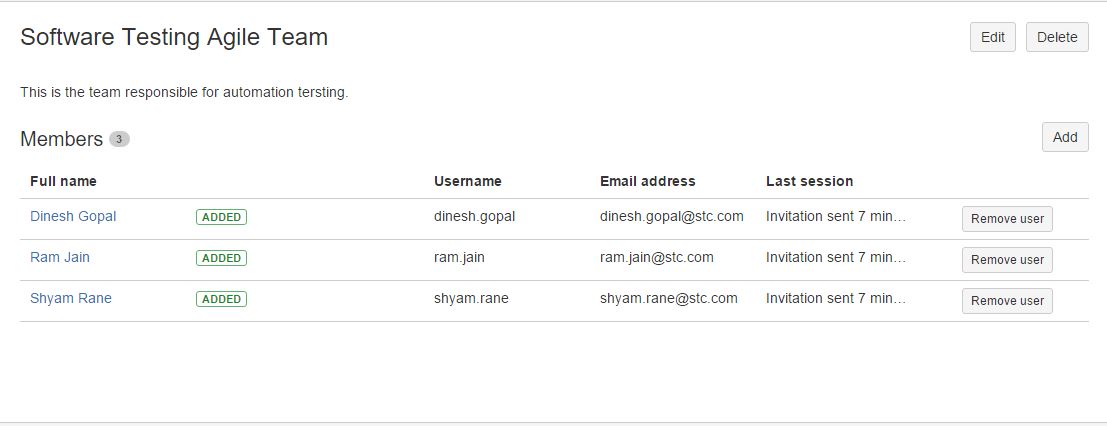
Step 5: Below screenshot shows the list of users that are recently added to the newly created group.
Removing a user from a group:
If somebody lefts the project and want to unsubscribe the JIRA alerts. This user can be removed from the group after following the below steps.
Step 1: Login into the JIRA with administrator credentials.
Step 2: Navigate to the left top of the JIRA page after login and click the setting icon.
Step 3: JIRA system will display the option User management in the dropdown menu, click on that.
Step 4: It will display the Users page with Groups link present on the left-hand side. Click on the Groups link. It will display the Groups screen.
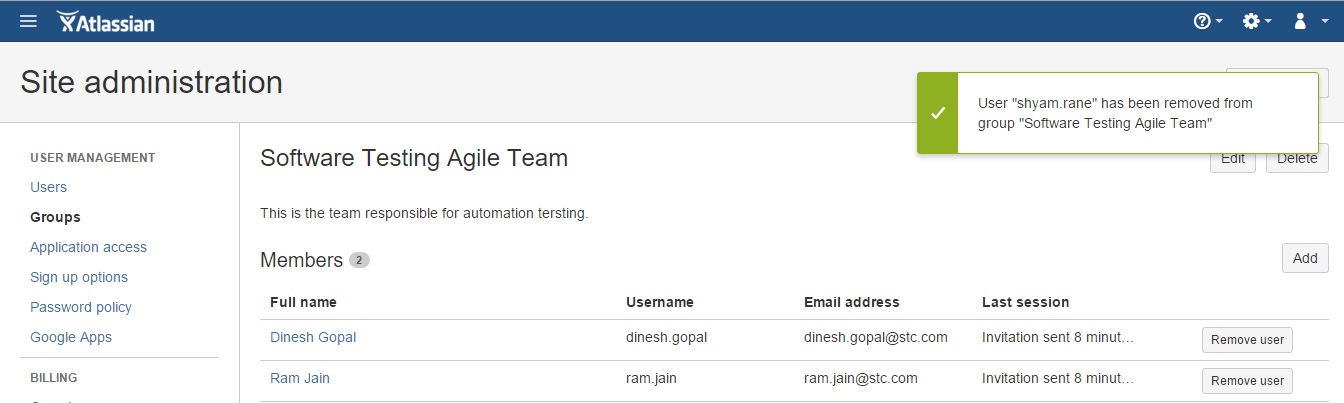
Step 5: Click on the group link Software Testing Agile Team as shown in the below screenshot.
Step 6: It will list down all the users who are the members of this group. With each user, there is a Remove user button present in the last column of the group list.
Step 7: Selective user can be removed after clicking the Remove user button from the list. The below screenshot displays the confirmation message at the left of the screen after the removal of the user (Shyam Rane) from the group.
Application access:
This link is present just below the Groups link on the site administration page. Click on this link, it will display the below screen as shown below. We can grant or revoke the user’s access to the application in your service using this feature of JIRA. You just need to click on the Revoke or Grant button present in the list column of the user’s list to revoke or grant the application access to the user.

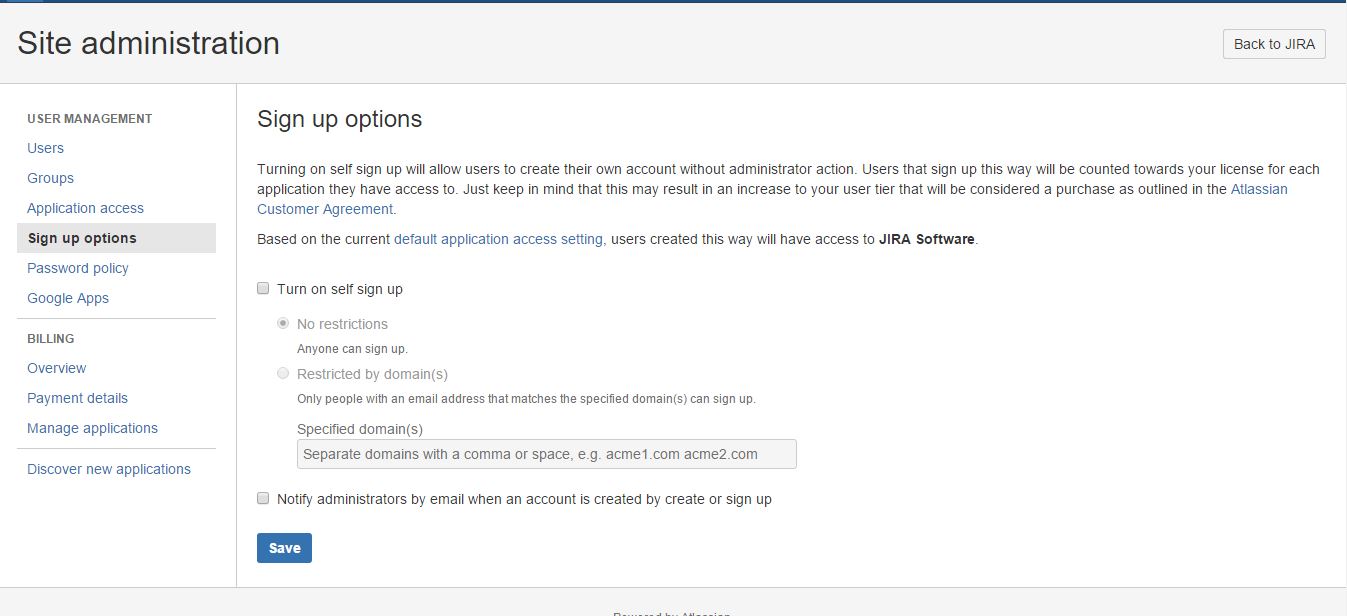
Sign up option: This option is present on the JIRA site administration page just below the Application access link. When you will click on this link, the site administration page will be visible as shown in the below screenshot. Here, when you check the checkbox turn on self-sign up, it will allow users to sign up on their own without administrative action. Also if you want to notify the administration on every new sign up then you need to check another checkbox present on this page and then click on the Save button to commit these changes.
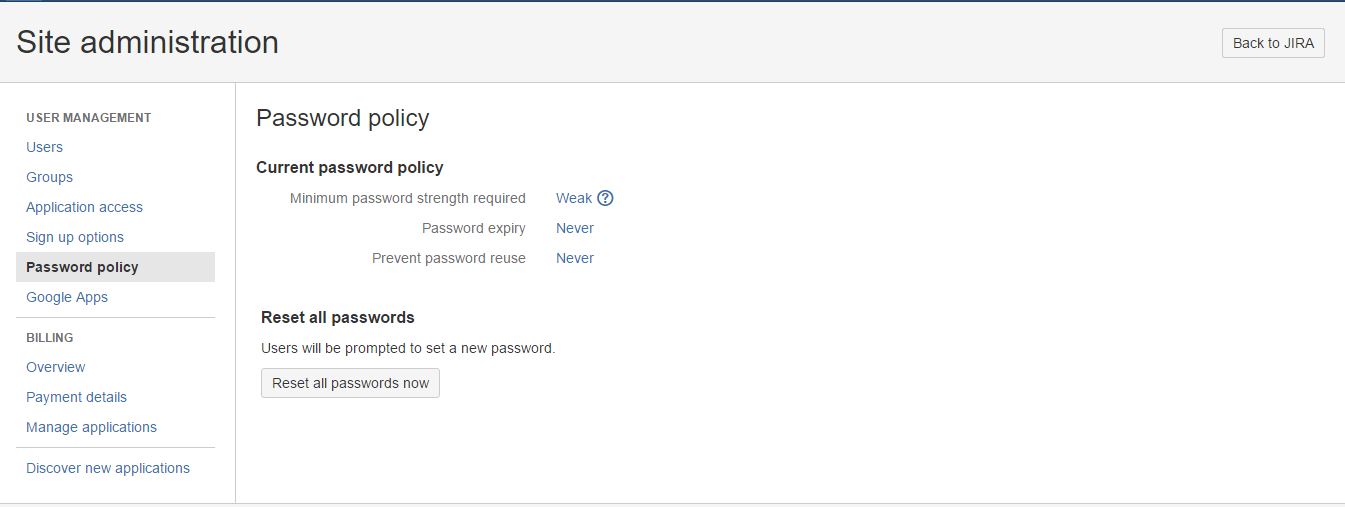
Password policy: This option is present on the JIRA site administration page just below Sign up options link. When you will click on this link, the below page will be visible as shown in the below screenshot. This feature of JIRA site administration allows to set up the password policies such as time after which password should expire, permitting password re-use, etc. Here we all reset all passwords when required after using the Reset all passwords option on this page.
The last option is of google apps which will enable users to connect to Atlassian Cloud site and manage users.
⇓ Subscribe Us ⇓
If you are not regular reader of this website then highly recommends you to Sign up for our free email newsletter!! Sign up just providing your email address below:
Happy Testing!!!

1 thought on “JIRA Agile User’s and Administrator’s Guide”
If you can put some real time scenario, that would really helpful for those who have not work & its would be easy while explaining in Interview.
Please put something for Interview prospective.
Thanks in advance.