The UFT’s Keyword View facilitates users to see all steps of the action or component in a keyword-driven, modular, table format. In this table-like format, each step is a single row in the table, and each column signifies the dissimilar parts of the steps.
These steps can be created with the help of user interface’s elements and tools.Let us know how to access these elements and tools and what all functionality these elements and tools carry.
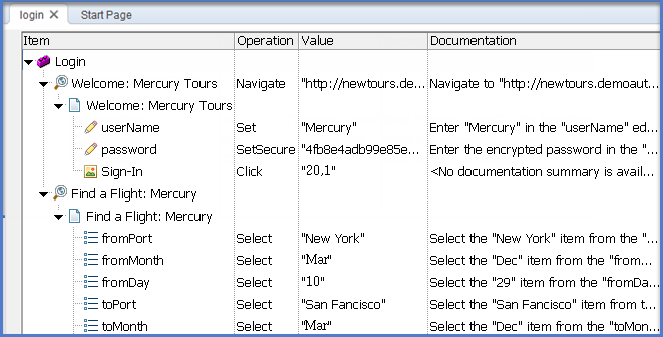
Given below figure shows the hierarchical steps of the Login action generated in user interface of the keyword view.
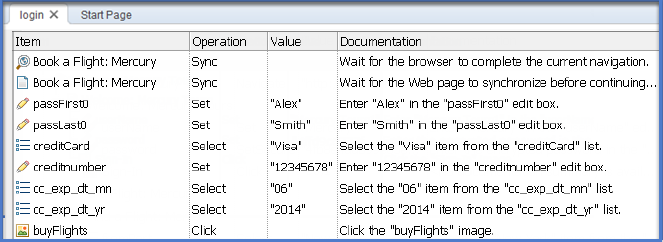
Given below figure shows the steps of a component generated in user interface of the keyword view.
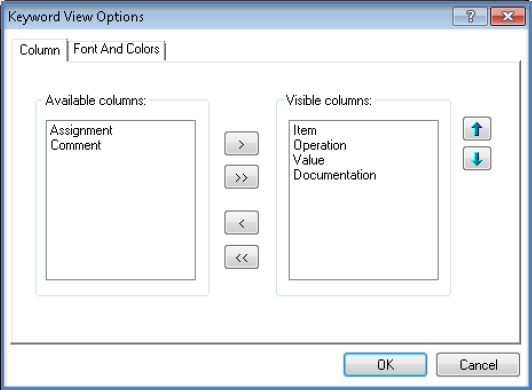
The Keyword View’s Options Dialog Box – Columns Tab
This tab facilitates users to displays the columns orderly in the Keyword View.
To view this tab, right-click a column header and select View Options. Options for a component are similar to the Options for an action.
The given below figure shows the options dialog box available for an action.
The Keyword View’s Options Dialog Box – Fonts and Colors Tab
This tab displays different type of text and color options for different elements in the Keyword
View.

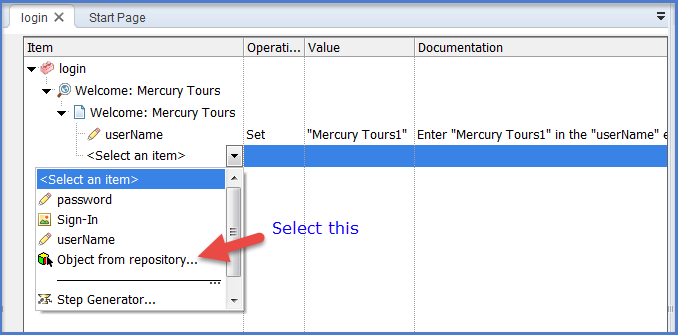
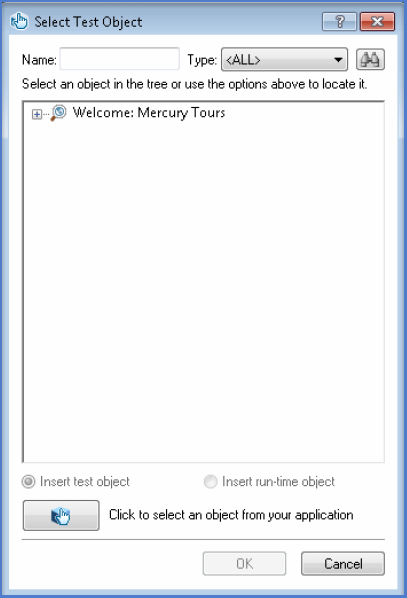
The Keyword view’s Select test ObjectDialog Box
This dialog box displays the object repository tree with number of objects and facilitates to select an appropriate object from the object repository tree for the step. Also, facilitates to select an object from the application for the step. This adds a test object to the local object repository.
User can choose a associated object to use in a visual relation identifier. This adds a test object to the same object repository as the test object user needs to identify.
User can use one of the following steps to access “Select Test Object” dialog box,
- In the Keyword View, click the Item cell, the down arrow displays with list of Items, scroll down and select Object from repository.
- In the “Visual Relation Identifier Dialog Box” click on the Add button.
- For actions and scripted components,go to the “Step Generator Dialog Box” and select Test Objects from the Category box list and click the Select Object button.
The given below figure shown the Select Test Object dialog box,
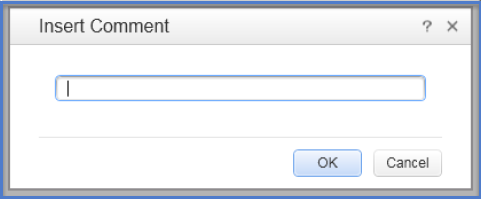
The Keyword view’s Insert Comment Dialog Box
This dialog box facilitates users to insert a new comment or change an existing comment for a step.
There are two ways to access this dialog box in the Keyword View,
- Go to Design > Add Comment.
- The step that does not have any comment, right-click on it and select Insert Step > Comment(actions) or Insert Comment (keyword components).
The Keyword view’s Comment Properties Dialog Box
This dialog box facilitates user to change the text of a selected comment.
To view this dialog box in the Keyword View, right-click on the step that holds a comment and select
“Comment Properties”.

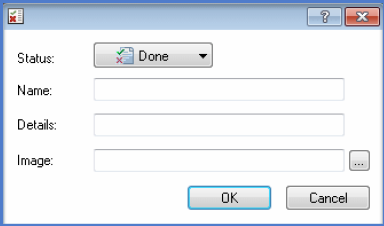
The Keyword view’s Insert Report Dialog Box
This dialog box facilitates user to give a message that has been send to the run results.
To access this dialog box in the Keyword View,
- From a step, select Edit > Report Step
- Right-click on a step and select Insert Step > Report
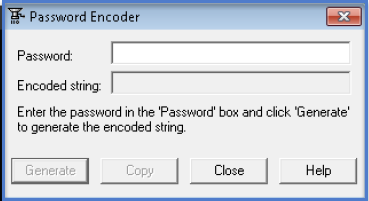
The Keyword view’s Password Encoder Tool
This tool facilitates users to encode the password for generated step.
To access this tool, go to the Windows menu, select Start > Programs > HP Software > HP Unified Functional Testing > Tools > Password Encoder.
The Keyword View – Keyboard Shortcuts
If you want the action or component in the keyword view to be performed using keyboard shortcuts, you can use the given below keyboard shortcuts to navigate within the Keyword View,
- For actions and scripted components, use“SHIFT+INSERT”key to add a new step after a conditional or loop block and use INSERT key to add a new step below the selected step. Also, use F7 to open the Step Generator to add a new step below the selected step.
- Use the “TAB” and “SHIFT+TAB” keys to move the focus left or right within a single row, if you are in a cell that is in edit mode. If so, press “ENTER” to exit edit mode, and then you can use the TAB keys.
- To open the related Checkpoint Properties dialog box of the value cell of a selected checkpoint step, press “CTRL+F11”.
- If a cell is containing a list,press “SHIFT+F4” to open it. Use up and down arrow keys to change the selected item. The Item column opens the list before using arrow key.
⇓ Subscribe Us ⇓
If you are not regular reader of this website then highly recommends you to Sign up for our free email newsletter!! Sign up just providing your email address below:
Happy Testing!!!

1 thought on “The Keyword View User Interface’s Elements and Tools – UFT/QTP Training Tutorial 11.1”
Thanks for this helpful article, lot of doubts are cleared now.