
In previous class we learned about “TestComplete Tutorial For Beginners: Easiest To Use Automated UI Testing Tool“. In this chapter, we are going to learn about the installation and environment Set up TestComplete tool. We will list down the operating system, system (both recommended and minimal), and disk space requirements which are required by TestComplete tool to work smoothly on a given computer configuration for test automation purpose.
TestComplete tool Software Requirements:
Supported Windows Versions:
TestComplete is compatible with the following Windows Operating systems.
- Microsoft Windows 10 (both 32-bit and 64-bit editions)
- Microsoft Windows 8.1 (both 32-bit and 64-bit editions)
- Microsoft Windows 8 (both 32-bit and 64-bit editions)
- Microsoft Windows Server 2012
- Microsoft Windows Server 2012 R2
- Microsoft Windows 7 (both 32-bit and 64-bit editions)
- Microsoft Windows Vista (both 32-bit and 64-bit editions)
- Microsoft Windows Server 2008 (both 32-bit and 64-bit editions)
- Microsoft Windows Server 2008 R2, (Server Core installations are supported only with the WoW64 component installed.)
- Microsoft Windows Server 2016
- Microsoft Windows Server 2012
- Microsoft Windows Server 2012 R2
- Microsoft Windows Server 2008 R2
These details can be procured from TestComplete tool website where they suggest you to install their latest service packs for the associated Windows operating system versions.

Recommended System Requirements:
The TestComplete tool requires the following system requirements to operate smoothly.
- The required operating system is a 64-bit operating system like Windows 7 or later.
- The required Web browser is Microsoft Internet Explorer 9.0 or later.
- The required microprocessor is Intel Core i5 or Intel Core i7 (the 3rd generation).
- Required RAM is 6 GB or more.
- Required Hard disk for storage is 1 GB of free disk space for installation, plus extra space for temporary files during test runs.
- The required display monitor is 1280 × 1024 or higher display resolution.
- The required pointing device is Mouse or another pointing device.
Minimal System Requirements:
The following are the minimal system requirements for the TestComplete tool.
- Minimum Required operating system is Microsoft Windows 7 with Service Pack 1
- Minimum Required Web browser is Microsoft Internet Explorer 9.0 or later.
- Minimum Required microprocessor is Intel Core 2 Duo 2 GHz or higher.
- Minimum Required RAM is 2 GB of RAM.
- Minimum Required Hard disk for storage is 1 GB of free disk space for installation, plus extra space for temporary files during test runs (see below).
- Minimum Required display monitor is 1024 × 768 or higher display resolution.
- The required pointing device is Mouse or another pointing device.
Disk Space Requirements:
Like other tools, TestComplete Platform also creates and uses temporary files during test runs. Depending on your project size, the required free disk space by TestComplete Platform is decided. When you are planning to run small projects then at least 500 MB of free space on the system disk is required, and this space may increase up to 1–2 GB in the requirement for running large projects.If ample disk space is not provided to TestComplete tool then your system may go out of space causing the TestComplete tool to malfunction. Therefore, you should with cautious with the availability of disk space while working on your testing project using the TestComplete tool.
Licence Requirements:
The TestComplete tool is not an open source tool. It comes with three different license options. They are as follows:
- TestComplete Pro – It further comes with the three components. They are TestComplete Platform, Desktop, Web and Mobile Modules and TestExecute.
- Node-Locked Licence
- Floating user Licence.
Details about Full pricing and associated customization for tool licenses can be procured from the following link.
Link: https://smartbear.com/product/testcomplete/pricing/
Also, you can observe “try before you buy” option on their website where you can download TestComplete and use it for 30 days for free. A tool which supports testing of applications on all three platforms: web, mobile, and desktop are worth giving a try.
Download and Installation Steps:
Once the system and software requirements for TestComplete tool are satisfied then you can download the free (30 day’s trial) version of the tool and install it on your machine through the following steps.
Step 1: Click on the following link to open the TestComplete Website.
Link: https://smartbear.com/product/testcomplete/overview/
Step 2: Click on the `Free Trial` tab in green color (shown below).

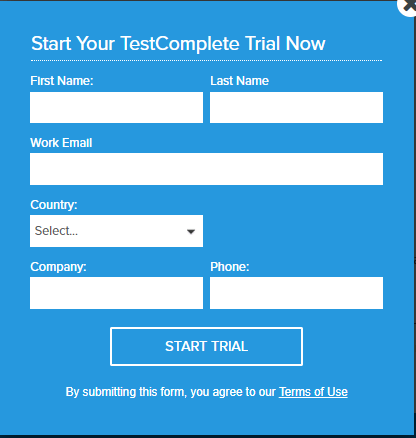
Step 3: After clicking on the FREE TRIAL link, it will ask you to fill up the form providing your details, associated company, email and phone number as shown below. Fill up these details and hit on the `START TRIAL` link to start downloading of tool.
Step 4: ATestComplete_T19999999.exe file will be downloaded on your system and this step will take a couple of minutes.

Step 5: Double-click on the downloaded file to start the installation of the TestComplete tool on your machine.
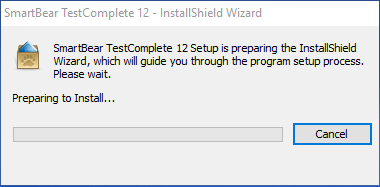
Step 6: Simply follow the installation instructions to complete the installation of the tool on your machine. After successful installation of the TestComplete tool on your machine, you can observe the tool link under windows program menu for installed Software.
This completes the installation of the TestComplete tool on your machine.
Kick Start with the TestComplete tool:
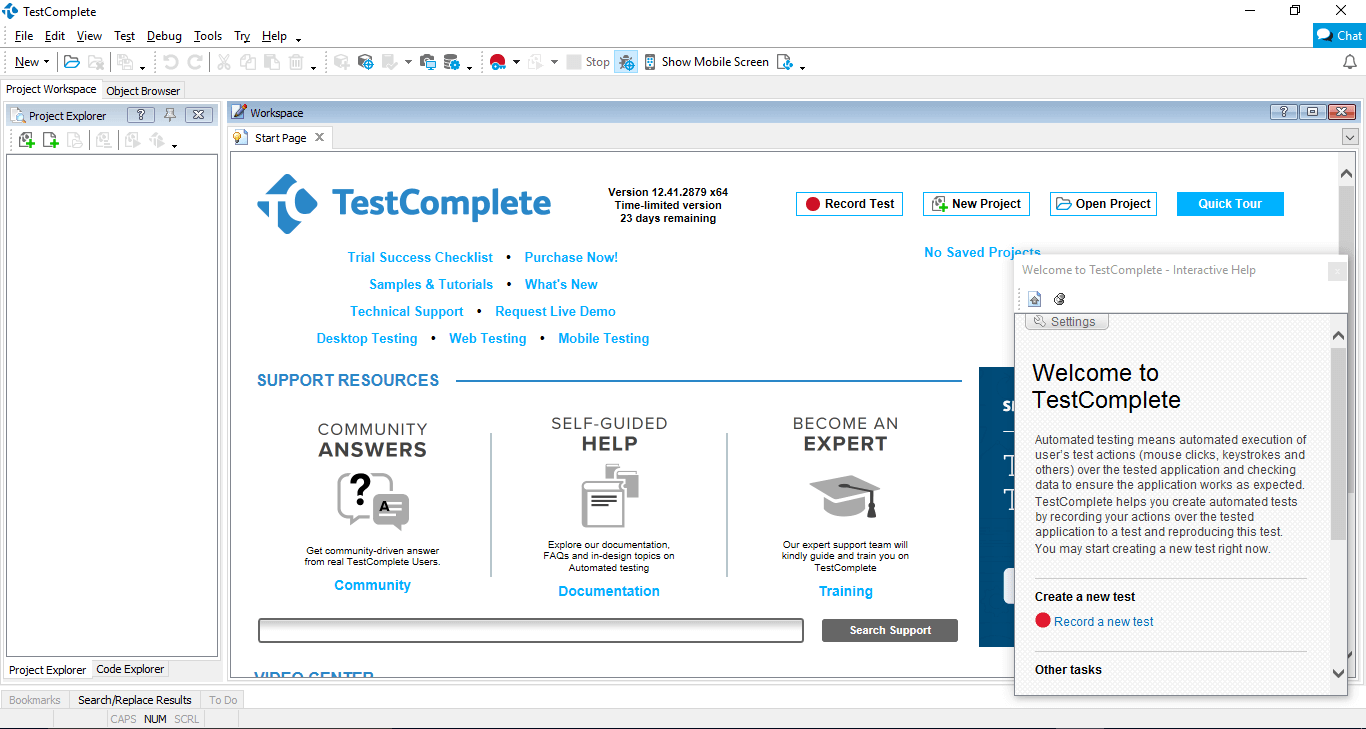
Click on the Windows Menu, choose and click on the `TestComplete 12` program link among different available program list. It will load the tool configuration on your machine and eventually opens the workbench on your machine as shown below.
Once opened on your machine, the tool workbench will look as shown below. In the coming chapters of this series, we will learn how to use this tool to automate and conduct various types of testing such as data-driven testing, record and play feature for automation of web, mobile, and desktop testing, etc.
Conclusion:
In this chapter, we learned about the system requirements that support the installation of TestComplete tool along with the various license which is available at various cost. Finally, we were able to download the free trial version of TestComplete tool, installed it on the machine and able to load the tool post installation successfully. In the coming chapters, we will be using this tool to create a new project, record test, etc. to automate various applications for the demonstration purpose only.
If you are not a regular reader of this website then highly recommends you Sign up for our free email newsletter!! Sign up just providing your email address below:
Happy Testing!!!