In this tutorial, we learn about how to build Data-driven framework with the help of JUnit and selenium. Basically, the Data-driven framework is a framework in which all our data conclude from an excel file. Let’s learn “JUnit and Data Driven Framework” with sample example.
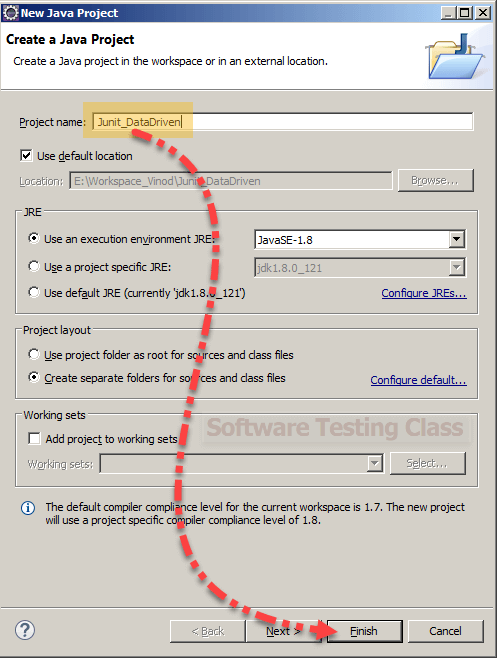
Step 1) Create a New Project in Eclipse
Project Name: Junit_DataDriven
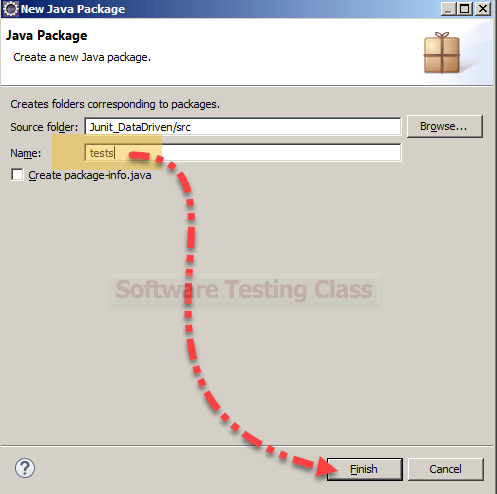
Step 2) Right click on src folder and create New Package
Package Name: tests
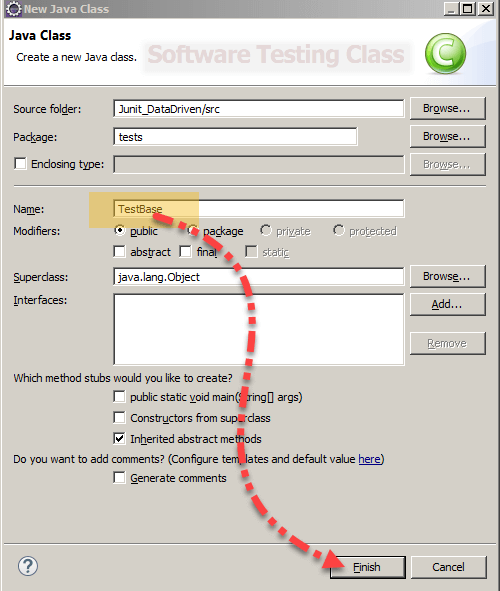
Step 3) Create a New class under package
Step 4) Right click on src folder and create New Package
Package Name: Config

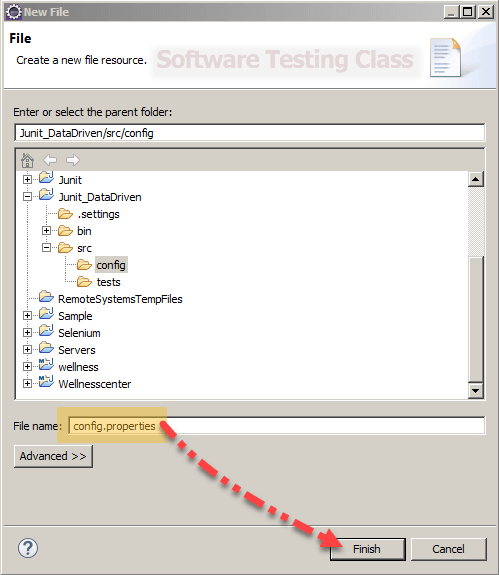
Step 5) Create a New File under config Package
File Name: config.properties
Step 5) config.properties: It is a property file having various configuration parameters.
config.properties code:
testSiteName=http://quikr.com
# IE, Chrome
browser=Firefox
Create a New File under config Package
File Name: OR.properties
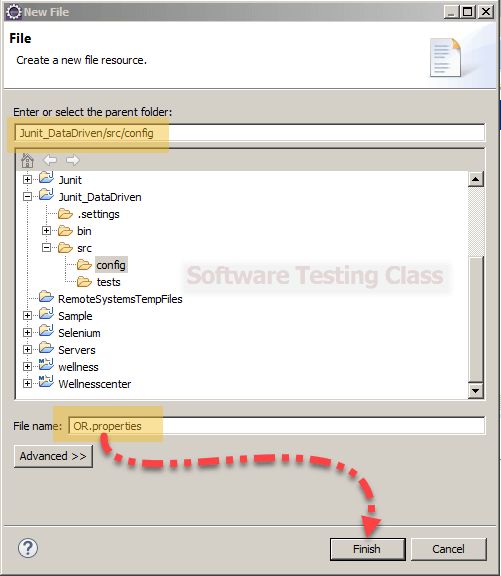
Step 6) OR.properties: It will store all xpaths of our application
OR.properties code:
#links
signin_link=//*[@id='loginstatusdiv']/a[2]
username_top_link=html/body/div[2]/div[2]/div[2]/div/a[1]
signout_link=html/body/div[2]/div[2]/div[2]/div/a[2]
register_link=//*[@id='lodinstatusdiv']/a[1]

#input boxes
username_signin_input=//*[@id='inputname']

password_signing_input=//*[@id='passwordId']
register_name_input=//*[@id='userFirstName']
register_id_input=//*[@id='userName']
register_password_input=//*[@id='password']
register_email_input=//*[@id='emailId']

#button
signin_button=//*[@id='SubmitBtn']
register_button=//*[@id='submitBtnId']

#text
erro_msg_login_text=//*[@id='WrongGreetingNameError']
registration_success_text=//*[@id='welcome']/h1

#dropdowns
register_city_dropdown=//*[@id='selectedCity']

#checkboxes
register_above18_chk=//*[@id='ageConfirmChk']
Step 7) Code for TestBase.java:
package tests;

import java.io.FileInputStream;
import java.io.FileNotFoundException;
import java.io.IOException;
import java.util.Properties;
import java.util.concurrent.TimeUnit;

import org.openqa.selenium.By;
import org.openqa.selenium.WebDriver;
import org.openqa.selenium.WebElement;
import org.openqa.selenium.firefox.FirefoxDriver;
import org.openqa.selenium.ie.InternetExplorerDriver;
import org.openqa.selenium.support.events.EventFiringWebDriver;

public class TestBase {

	//initializing the property file reading
	public static Properties CONFIG=null;
	public static Properties OR=null;
	public static WebDriver dr=null;
	public static EventFiringWebDriver driver=null;
	public static boolean isLoggedIn=false;

	public void initialize() throws IOException {
		if(driver == null) {
		//config property file
		CONFIG= new Properties();
		FileInputStream fn = new FileInputStream(System.getProperty("user.dir")+
"//src//config/config.properties");
		CONFIG.load(fn);

		//OR property file
		OR= new Properties();
        fn = new FileInputStream(System.getProperty("user.dir")+
"//src//config/OR.properties");
		OR.load(fn);

		//Initialize the webdriver and EventFiringWebDriver
		if(CONFIG.getProperty("browser").equals("Firefox")){
			 dr = new FirefoxDriver();

		}else if (CONFIG.getProperty("browser").equals("IE")) {
			 dr = new InternetExplorerDriver();
		}

		driver = new EventFiringWebDriver(dr);
		driver.manage().timeouts().implicitlyWait(30, TimeUnit.SECONDS);
	}
}

	public static WebElement getObject(String xpathKey){
		try{
		return driver.findElement(By.xpath(OR.getProperty(xpathKey)));
		}catch(Throwable t){
			//report error
			return null;
		}
	}
}
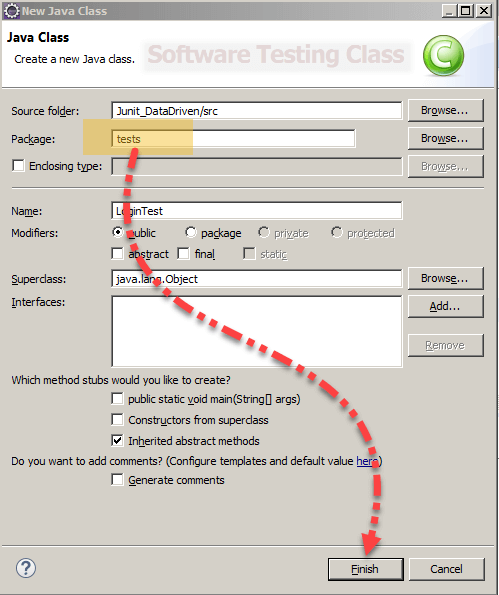
Step 8) Create New Class under package tests
Class Name: LoginTest
Step 9) Code for LoginTest.java:
package tests;

import java.io.IOException;

import org.junit.Before;
import org.junit.Test;

import util.TestUtil;

public class LoginTest extends TestBase {

	@Before
	public void beforeTest() throws IOException{
		initialize();
	}

	@Test
	public void loginTest() throws InterruptedException {
		//selenium code
		driver.get(CONFIG.getProperty("testSiteName"));
		//login
		TestUtil.doLogin("regSe12","password1234");
		if(!isLoggedIn) {
			//report error
			System.out.println("invalid username password");
		}
	}
}
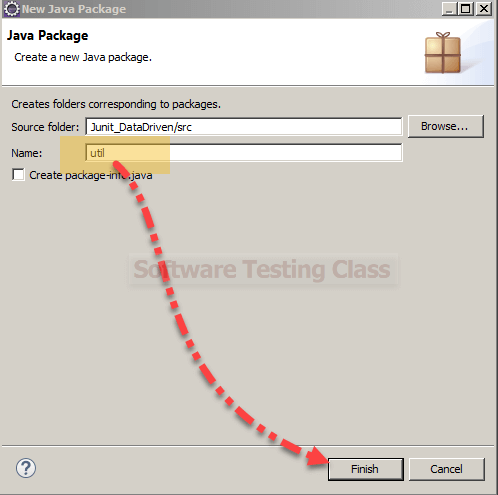
Step 10) Create a New Package under src folder
PackageName: util
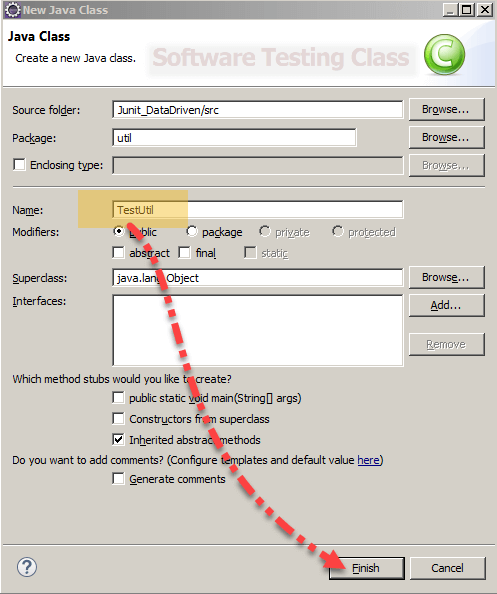
Step 11) Create a New Class under util package
Class Name: TestUtil
Step 12) Code for TestUtil.java:
package util;

import org.openqa.selenium.By;

import tests.TestBase;

public class TestUtil extends TestBase {

	public static void doLogin(String username, String password) throws InterruptedException{
		if(isLoggedIn) {
			//return;
			logout();

		}
		getObject("signin_link").click();
		getObject("username_signin_input").sendKeys(username);
		getObject("password_signing_input").sendKeys(username);
		getObject("signin_button").click();

		Thread.sleep(5000L);
		try{
			String displayedUserName=driver.findElement</pre>
<pre>(By.xpath(OR.getProperty("username_top_link"))).getText();

			if(displayedUserName.equals(username)){
				isLoggedIn=true;

			}else{
				isLoggedIn=false;
			}
		}catch(Throwable t) {
		   isLoggedIn=false;
	}
	}

	public static void logout() {
		if(isLoggedIn){
			getObject("signout_link").click();
		}
	}
}
Step 13) Run the Login Test-> Right Click LoginTest.java-> Run As-> JUnit Test
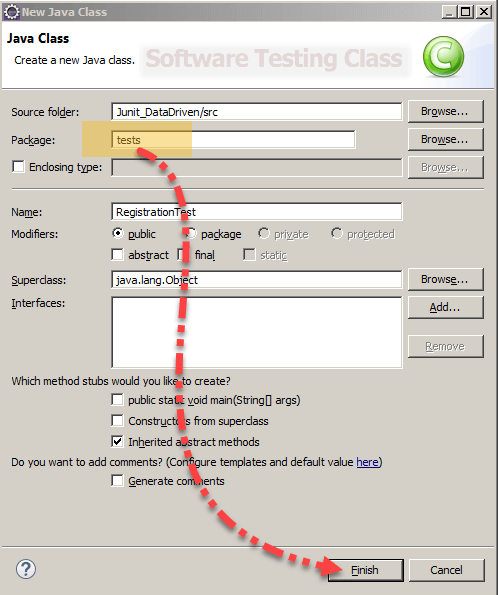
Create a New Class under package test
Class Name: RegistrationTest
Step 14) Code for RegistrationTest.java:
package tests;

import java.io.IOException;

import org.junit.Before;
import org.junit.Test;
import org.openqa.selenium.By;
import org.openqa.selenium.WebElement;

public class RegistrationTest extends TestBase {

	@Before
	public void beforeTest() throws IOException{
		initialize();
	}
	@Test
	public void registerTest() {
		driver.get(CONFIG.getProperty("testSiteName"));
		getObject("register_link").click();
		getObject("register_name_input").sendKeys("selenium");
		getObject("register_id_input").sendKeys("selenium");
		getObject("register_password_input").sendKeys("password1234");
		getObject("register_email_input").sendKeys("selenium@gmail.com");
		getObject("register_city_dropdown").sendKeys("Delhi");
		getObject("register_above18_chk").click();
		getObject("register_button").click();

		WebElement thkYou = driver.findElement(By.xpath(OR.getProperty("registration_success_text")));
		if(thkYou == null){
			//report error if test data was positive
System.out.println("ERROR");
		}
	}
}
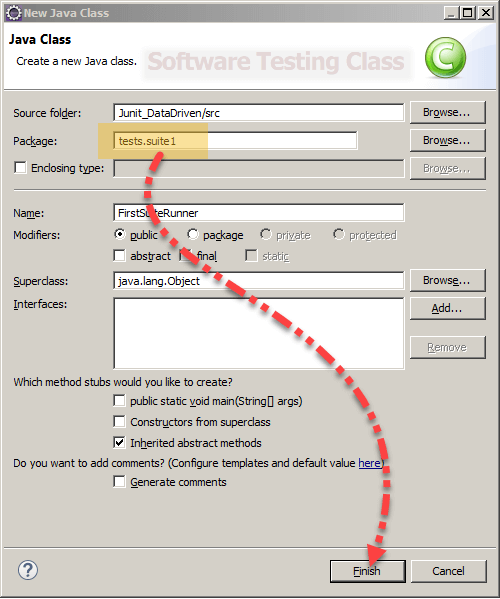
Step 15) Create a New Package-> Right click on src folder and create New package

Step 16) Create a New Class under tests.suite1 package
Step 17) Code for FirstTestRunner:
package tests.suite1;

import org.junit.runner.RunWith;
import org.junit.runners.Suite;
import org.junit.runners.Suite.SuiteClasses;


@RunWith(Suite.class)
@SuiteClasses({
RegistrationTest.class,
LoginTest.class,

})
public class FirstSuiteRunner {

}
Step 18) Right Click on FirstSuiteRunner and Run As JUnit Test.
Conclusion:
Here we designed our first framework “Junit and Data Driven Framework” with sample code. You should try with your own and start using in your project. In coming articles, I will shed some light on other frameworks like:
- Junit and Hybrid (Keyword+Data) Framework
- TESTNG and Data Driven Framework
- TESTNG and Hybrid Framework(Data driven+keyword)
- TESTNG and Page Object Model(POM)
- Page Object model with Page Factory
- Building Framework with Cucumber
If you are not a regular reader of this website then highly recommends you to Sign up for our free email newsletter!! Sign up just providing your email address below:
Happy Testing!!!

4 thoughts on “Start Design Your JUnit and Data Driven Framework in Selenium”
Thanks for posting articles on Selenium Automation Framework. I was waiting since so many days.
Quite informative. Keep posting
Nice informative article. Keep posting.
Need help on hoe to send email using selenium webdriver?