In this tutorial, we are going to learn about the steps that are involved in the installation of the Atlassian JIRA tool.
Well! The good news is that there is nothing to download, surprised? All you need is an internet connection and follow steps that are given below.
Step 1: Open a web browser and type or click on the below link. It will open the JIRA software website as shown. You can buy the product immediately or try the 7 days free trial version of JIRA.
Download link to Installation of JIRA tool

Step 2: Click on the green button with the label as “Try it free” which will open up the screen as shown below. We can choose the product among the given 4 options. The first option provides the JIRA software which we are going to use in this Installation of the JIRA tool tutorial. Other options provide the flexibility of documentation, help desk, and customized JIRA software where you can create your own solution by mix and match various features.
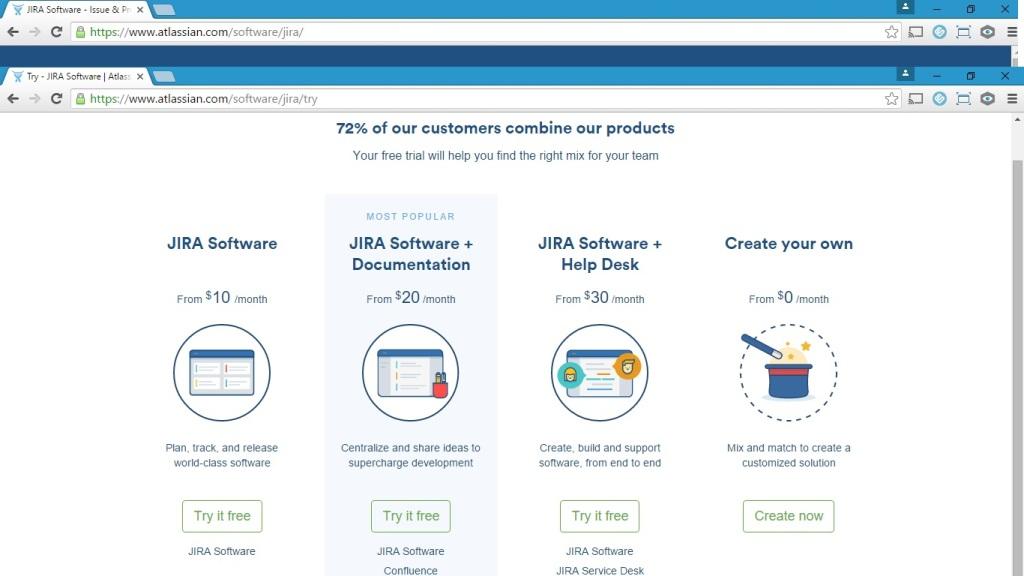
Step 3: Click on the JIRA Software option (From $10) and the button with the label as “Try it free”. It will fetch you a screen as given below. It is a 7 days free trial version.
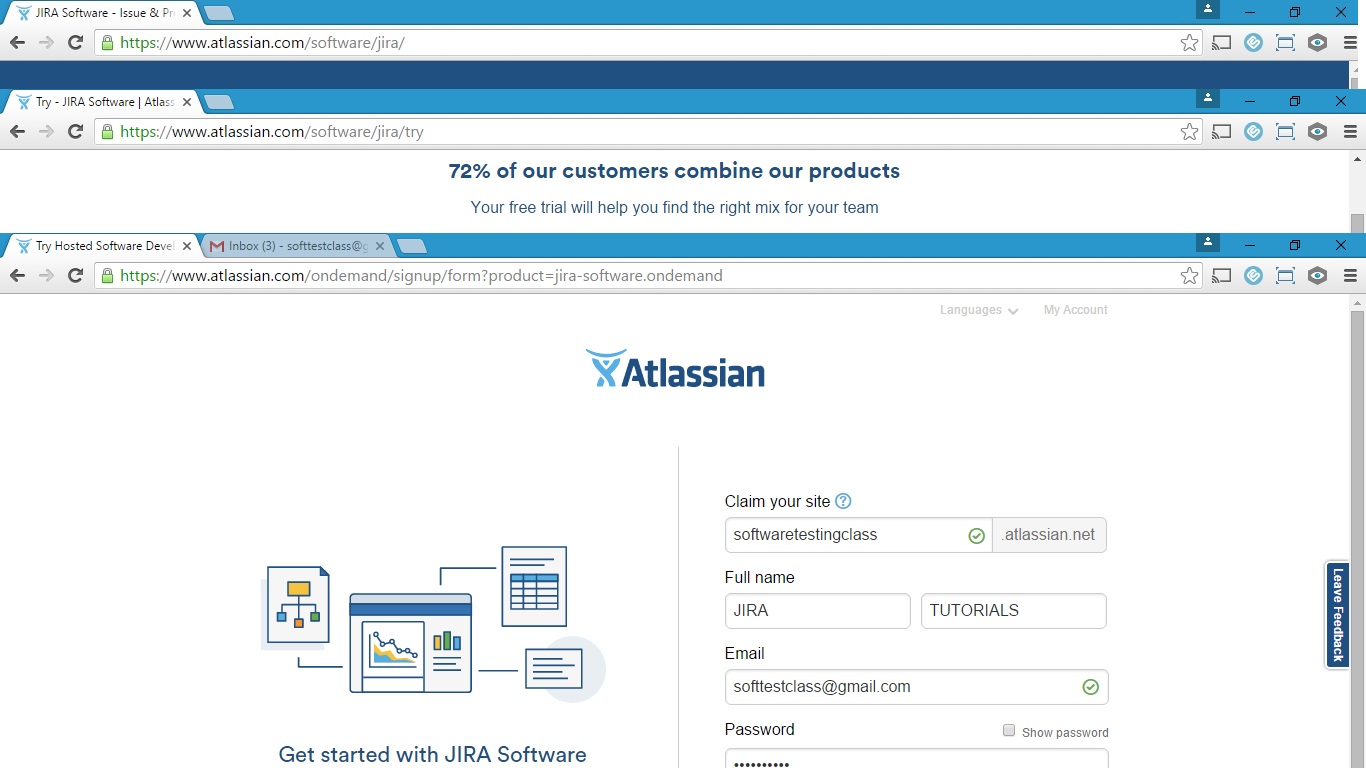
Step 4: On the above screen, you need to choose your own site name (here, I have used softwaretestingclass) and it should be unique for the Atlassian.net domain. This URL will create your own secured issue tracking website which can be accessed at any time and at any place. To complete your details enter the full name, email address, and password. Email address is required for activation and it should be unique. After entering all of these details click on the button with the label as “Strat trial” to proceed further.
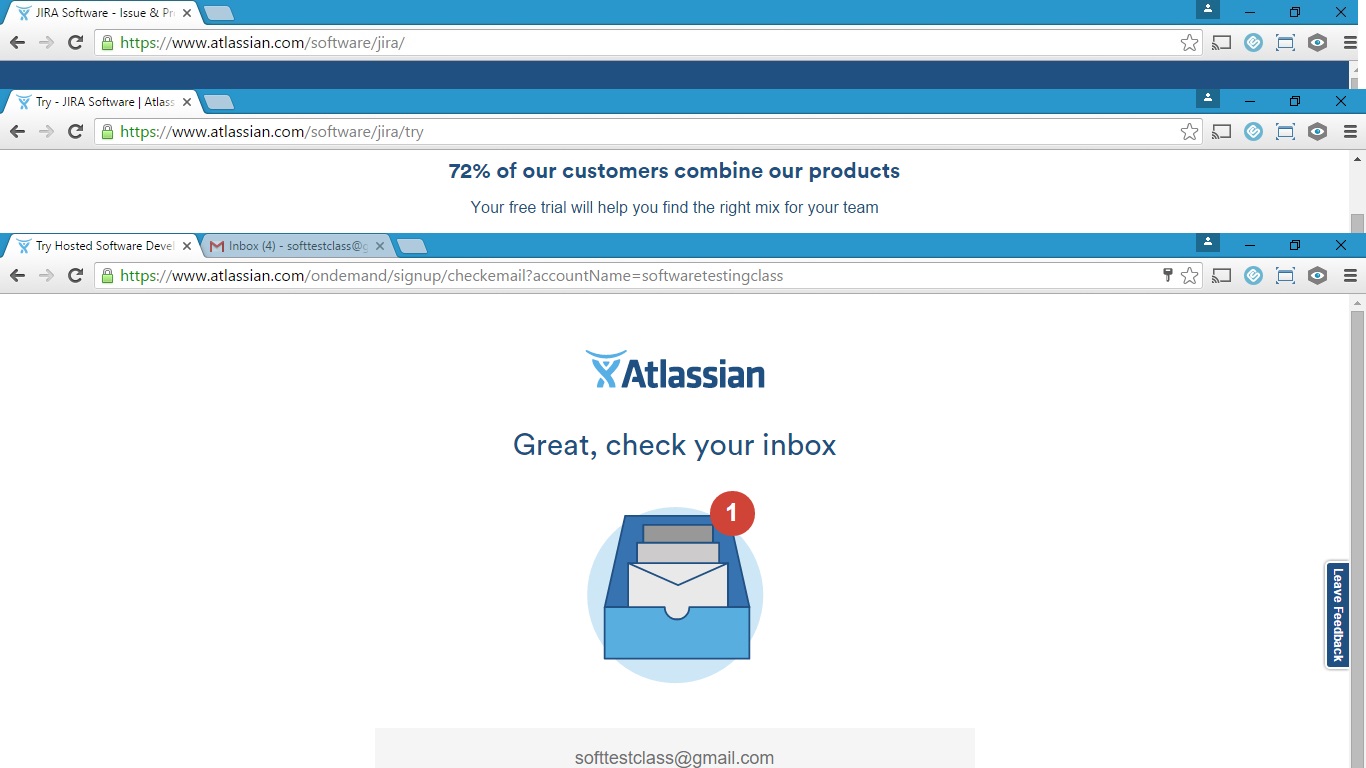
Step 5: After entering details in step 4, it will create your account at the Atlassian JIRA cloud and ask to verify your email id after sending an email in your inbox which will look like as given in the screenshot below.
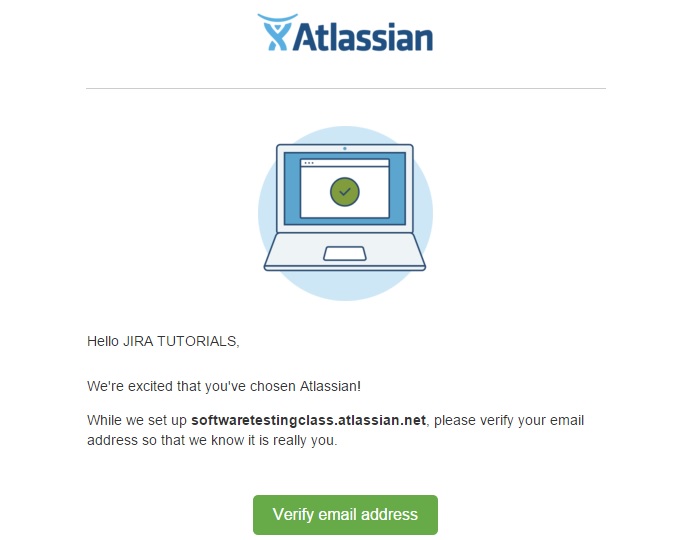
Step 6: Click to verify your email address after opening your email inbox. After verification, it will open up your own website with URL as chosen in step 4 as shown in the screenshot below.
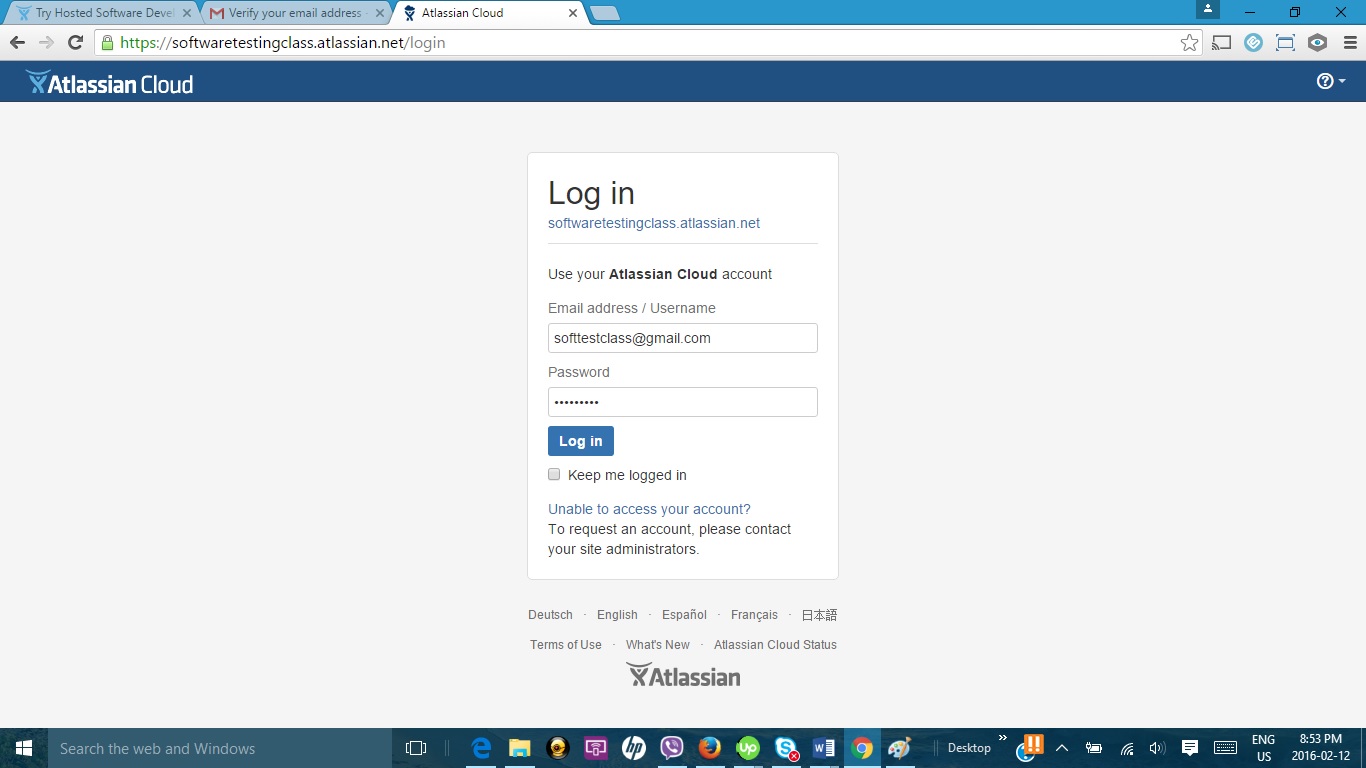
Step 7: Enter your credentials to log in to the JIRA issue tracking tool. All you need to do is to enter the email address as username and password which was chosen in step 4. Click on the login button to log into the JIRA tool.
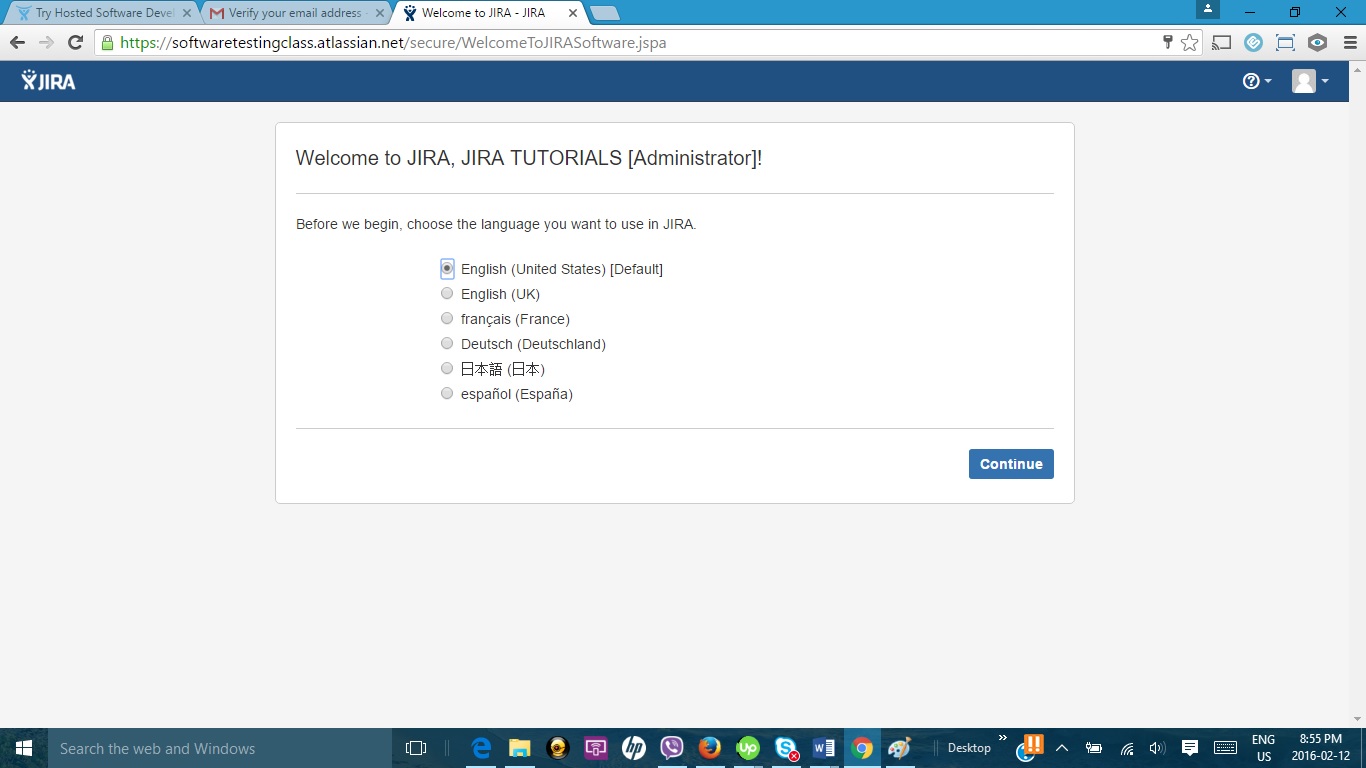
Step 8: It will open up a screen as shown above which will ask you to choose a language. The default language will be English (United States), other language options available are English (UK), French, Deutsch, Chinese, and Spanish. In this tutorial, I have chosen English (United States). Click on the continue button to proceed further.
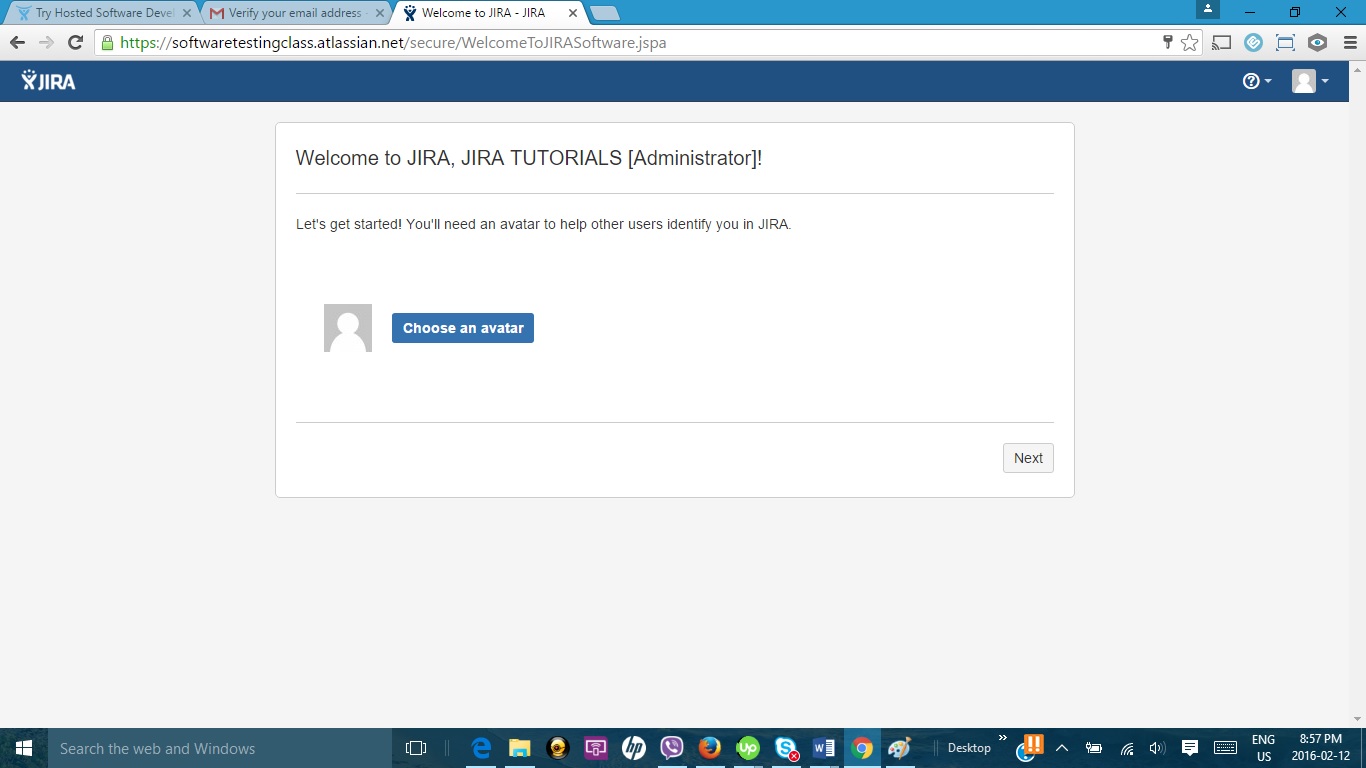
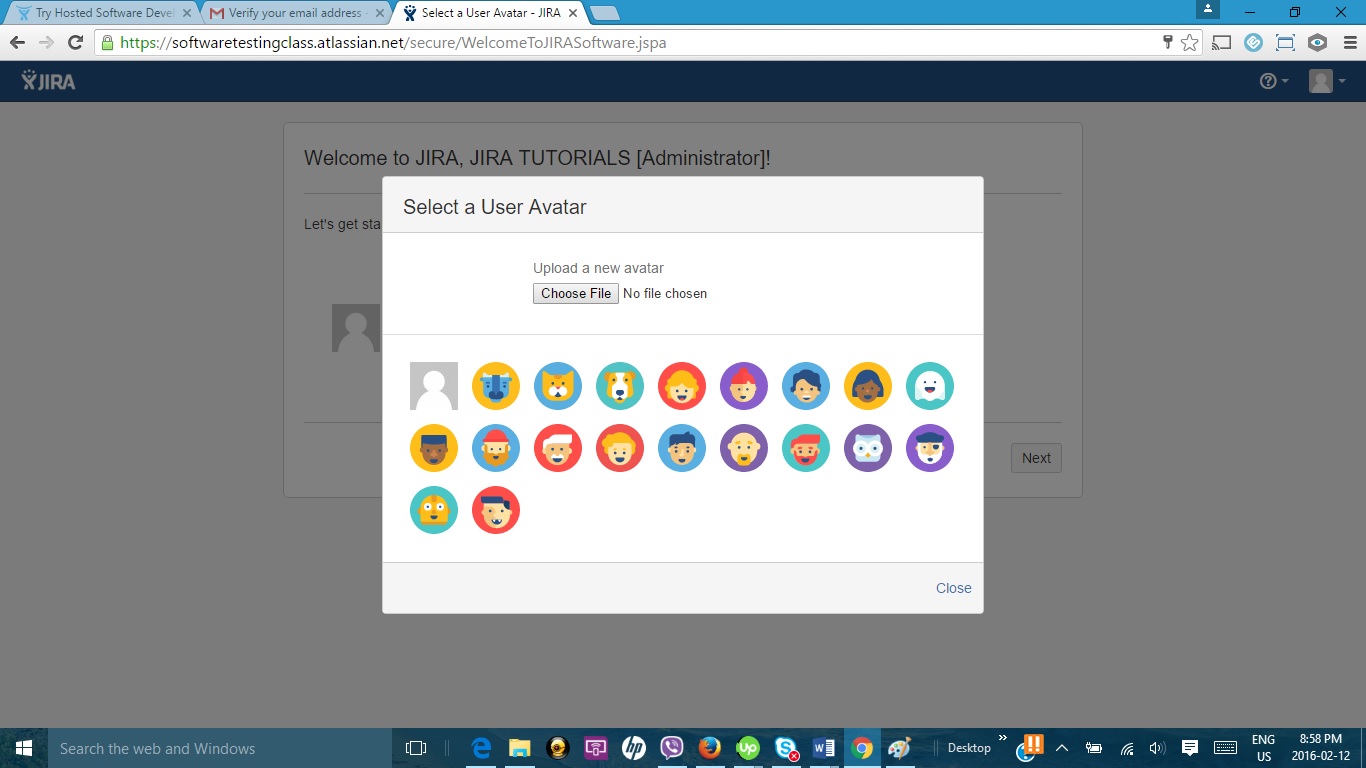
Step 9: Above welcome screen will be visible asking you to choose an avatar which is nothing but just a display picture or profile picture. This picture can be selected from the available options of avatars as shown below or can be uploaded from your local PC. It is an optional step. Choose an avatar and proceed further.
Step 10: JIRA tool has been successfully set up at the Atlassian JIRA cloud. It can be accessed through your URL, username, and password. In the next part of this tutorial let’s discuss a default JIRA tour.
Easy to understand Atlassian JIRA with Quick Tour 1 of 12:
Quick Tour 1 of 12: It tells about the basic concepts of JIRA. It has a number of projects in it as shown below as My First Project, My Second Project, and so on.
Quick Tour 2 of 12:A project in JIRA is defined as the collection of issues.
Quick Tour 3 of 12:This is how an issue is represented within a JIRA. An issue can be defined as something that needs to be worked on within a project.
Quick Tour 4 of 12:Each issue within a project has a summary that tells about what actually to be worked on.
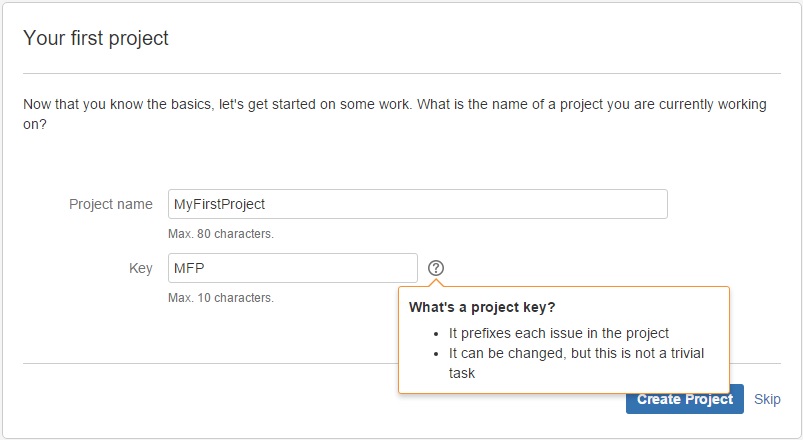
Quick Tour 5 of 12:Each project is identified as a key which could be a short form (here MFP). Using this key the issue reference will look like MFP-1 which will be incremented as MFP-2, MFP-3, and so on for more issues.
Quick Tour 6 of 12:Issue created within a project can be assigned to any team member and its email or name will appear as Assignee. The assignee is identified as a team member who is currently working on the issue.
Quick Tour 7 of 12:Each issue has a status as INPROGRESS, TO DO, DONE, etc. Assignee during the workflow works on the issue and keep on updating the status until it is closed.
Quick Tour 8 of 12:Below in the diagram indicates the workflow which tracks and updates the issue since it is created from TO DO status to IN PROGRESS and when completed to DONE status. Issue when closed without correct resolution, it can be reopened and enter the workflow again.
Quick Tour 9 of 12:Issue has the edit button to edit the content, comment button to comment on the issue, stop the progress button to stop the work on the issue, and done button when work is completed. These buttons transition the issue through its workflow.
Quick Tour 10 of 12:Let’s see what would happen if the “Done” button is clicked.
Quick Tour 11 of 12:Status of the issue will get changed to DONE. This is how the workflow is transitioned until the work on the issue is completed or done.
Quick Tour 12 of 12:Using these 12 slides of the quick tour will cover the basic concept in the JIRA tool.
Below is the tutorial, let’s try to create our own new project. The system will ask to enter Project name and Key. Remember we discussed key which is nothing just the prefix used as a reference number to the issue within a project.
Click on the create project button to create the project, next JIRA will ask to create the issue to work on them in the project as shown in the below screenshot.
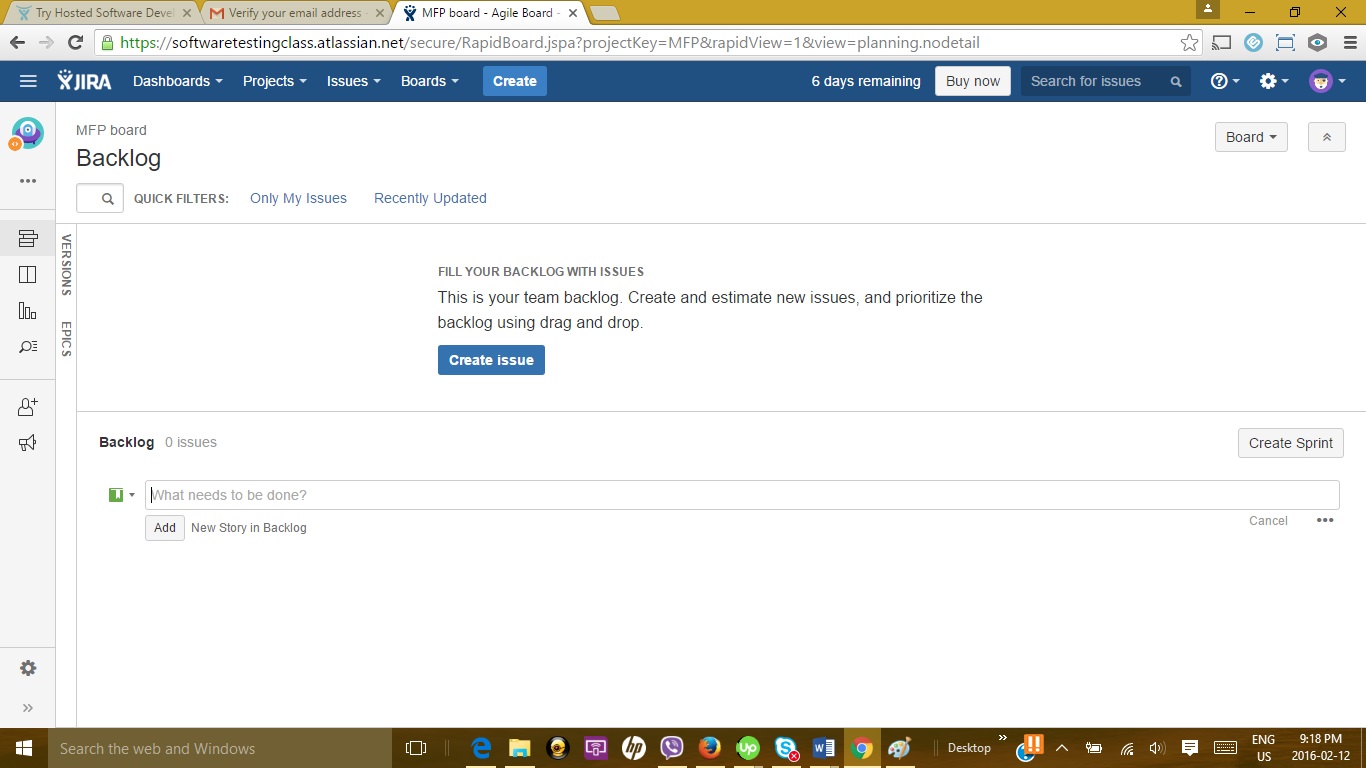
Wooh! Installation of the JIRA tool is done in this tutorial. You are all set to work on your first JIRA project after entering the issues in it which we will learn in the next series of this tutorial.
