In Mantis Bug Tracker tutorial, we will learn how to install Mantis Bug Tracker on Windows. For this, first of all, we need to understand the pre-requirements of the system where Mantis has to be installed.
Pre Requirements for Client and Server System
- About Operation System and Browser (Client): MantisBT runs on Windows, macOS, Linux, Solaris. It is a web-based tool which can be accessed using Web Browsers. It can work on all the browsers from Chrome, Firefox (45 and above), Internet Explorer (10 and above), Safari and Opera.
- About Web Server (Server): Mantis requires a Computer and a web server installed on the computer. Mainly Microsoft IIS and Apache web server are used for Mantis Bug Tracker but now, it would support any latest version of web servers. The only requirement is the web server should support PHP technology.
- File Extensions: Mantis uses only .php files. So the web server should support .php extensions
- RDBMS Extensions: The database extensions (in .php) used by Mantis are MySQL (MySQL), pgsql (PostgreSQL), oci8 (Oracle Server), sqlsrv (MS SQL Server). A database is required to store the data of Mantis. Disk space will depend on the volume of data.
- Mantis Bug Tracker requires UFT-8(Unicode) support using mbstring.
New Installation of Mantis Bug Tracker
There are many methods available to install Mantis Bug Tracker on the system. Some of the common methods are using WAMP Server, XAMPP Server and using Bitnami Application.In this tutorial, we will concentrate on the installation of Mantis using Bitnami Mantis Stack. The Bitnami Mantis Stack is an installer that greatly simplifies theinstallation of Mantis and runtime dependencies. It includes ready-to-run versions of Apache, MySQL, and PHP. Mantis Stack is distributed for free under the Apache 2.0 license.
If all the above pre-requirements are fulfilled, the next step will be to install the bug tracker.
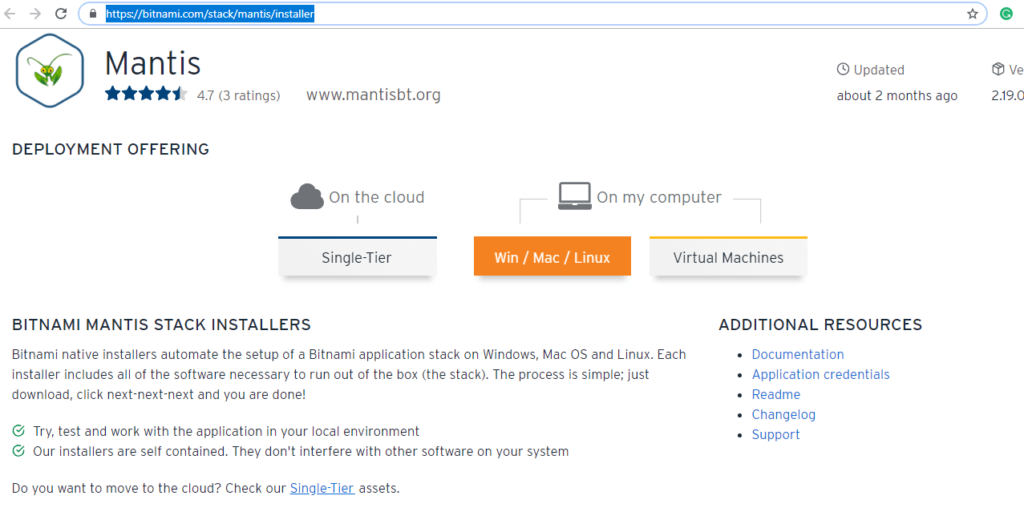
- Open Bitnami using https://bitnami.com/stacks/
https://bitnami.com/stack/mantis/installer. Click on Win/Mac/Linux (highlighted part in the screenshot)
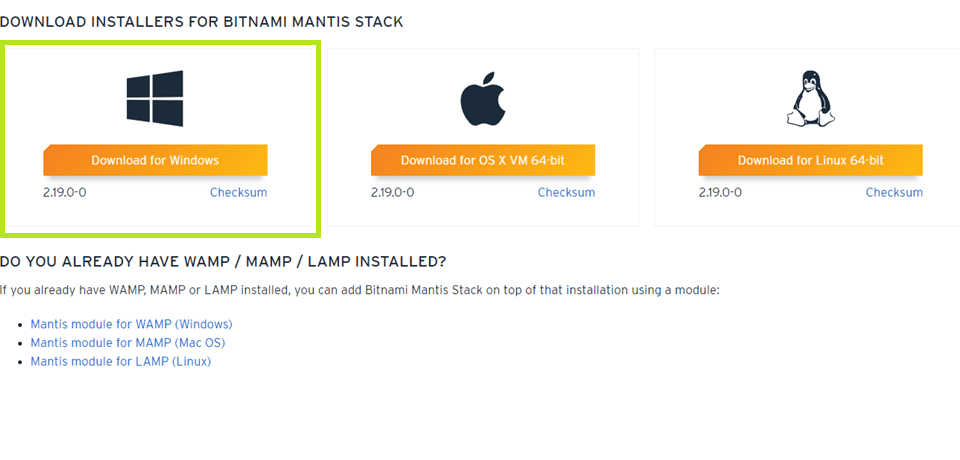
- Click on “Download for Windows”. Once you click on the button, the Bitnami-mantis-2.19.00 file will start getting downloaded within a “.exe” extension.
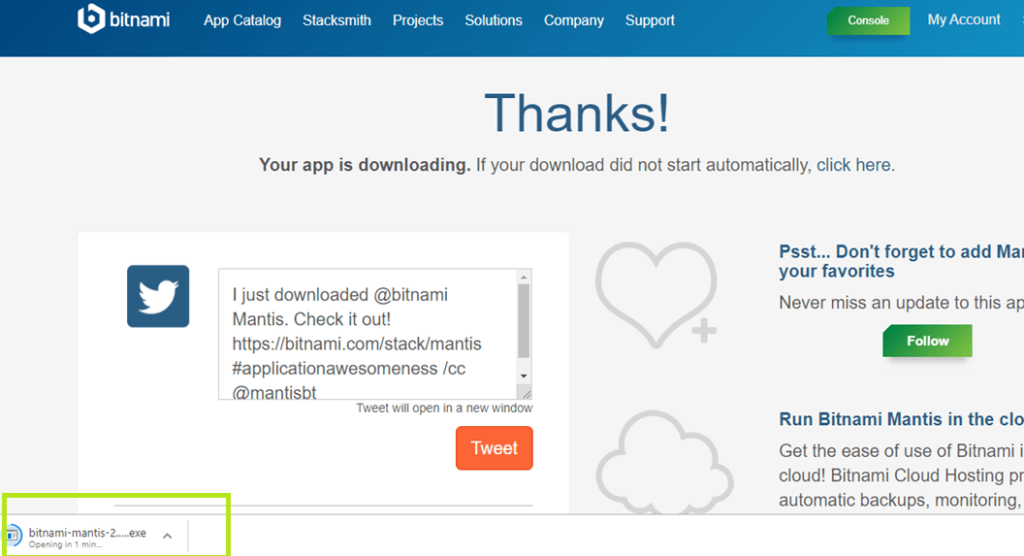
- Double Click and Open the executable file “
bitnami -mantis-2.19.0-0-windows-installer.exe “ and run the .exe file.
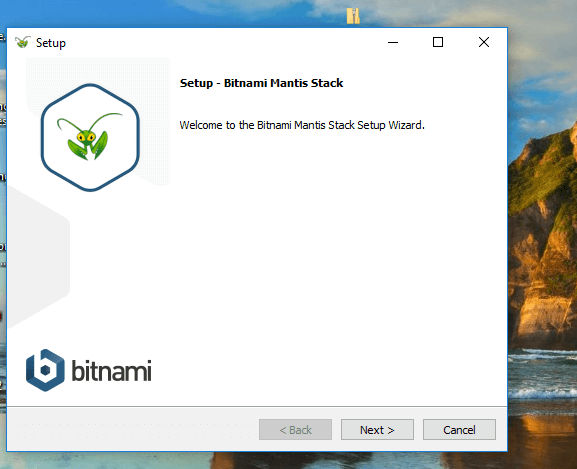
- The next window “Welcome Screen” , appears as:
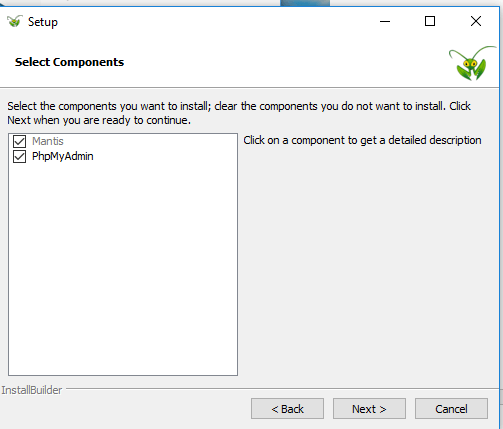
- Follow the steps, the next step will ask to select the components. Select “PhpMyAdmin” and click on Next.This step will handle the administration of MySQL over the web.
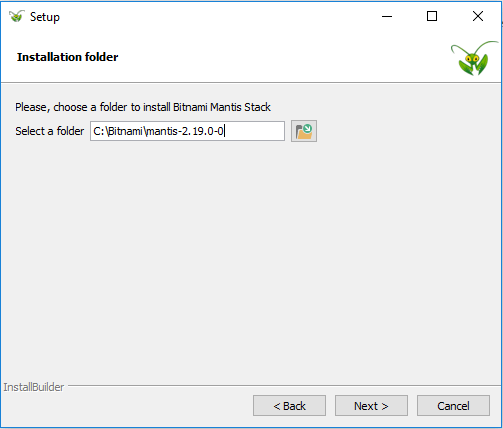
- Select the destination folder. If the folder doesn’t exist, this step will create a new folder for it.
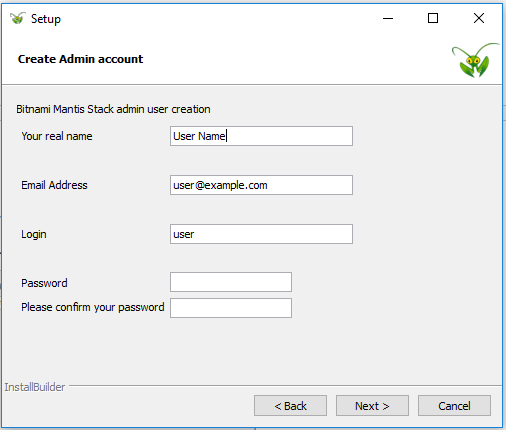
- The next step will ask to set the user credentials for accessing the MantisBT. The fields ask for: Your Real Name, Email Address, Login, and Password. The login and password will be used to access the MantisBT.
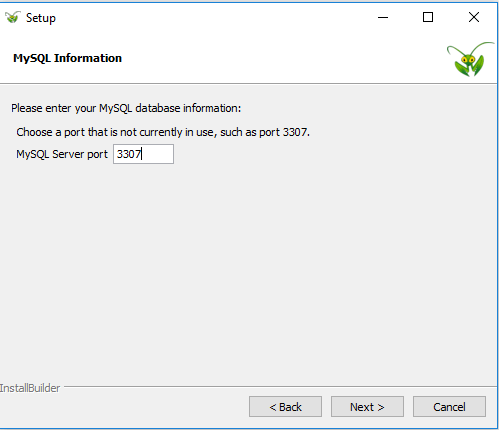
- Click on Next and select the Web Server Port, by default the port for Listening to Apache are 80 and if the port is already in use, it will demand another port number. The default port for MySQL is 3306 but it will ask for another port number if the default port is chosen is busy. The entered port numbers will further be used in connecting to MySql Workbench and Mantis Bug Tracker.
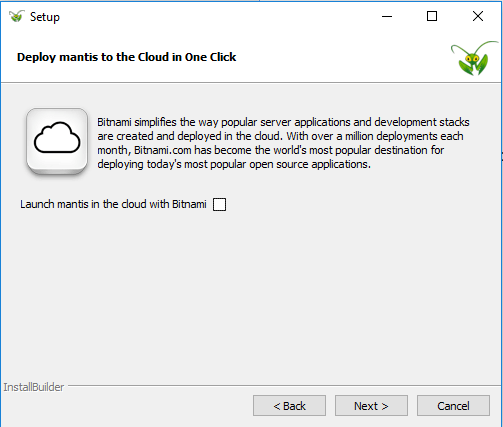
- Clicking on Next will prompt the user to select Mantis Services of Bitnami in Cloud. If the user wants to deploy the application in the cloud, he/she can select the checkbox and click on next.
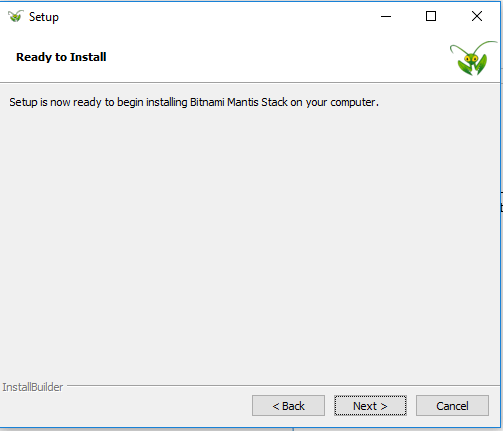
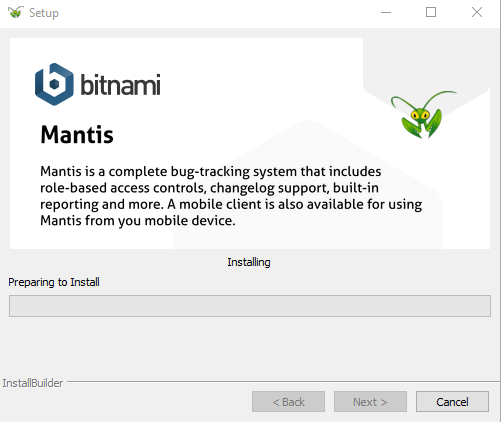
- The next step is “Ready to install”. Click on Next and it will start Installation. The Installation process will take a few minutes time.
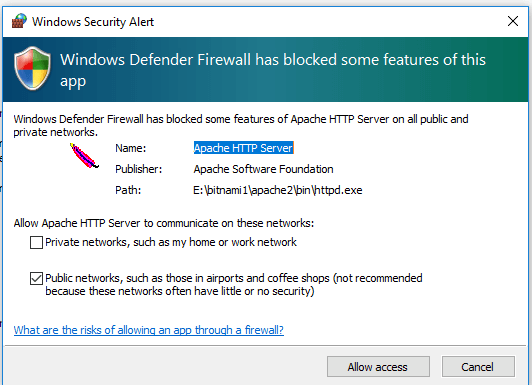
- Upon successful installation, the windows will ask to “Allow Access” some Apache features which are blocked by Windows Defender Firewall. Click on “Allow Access”.
- The above steps are successfully completed, the install will complete and the user will be redirected to the application.
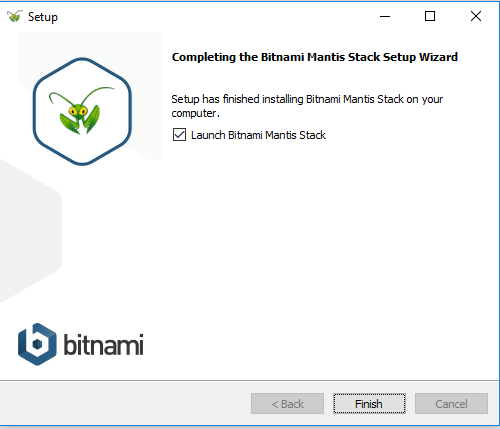
- Click on “Finish” and it will open the Bitnami App and default browser will show the link to Access Mantis.
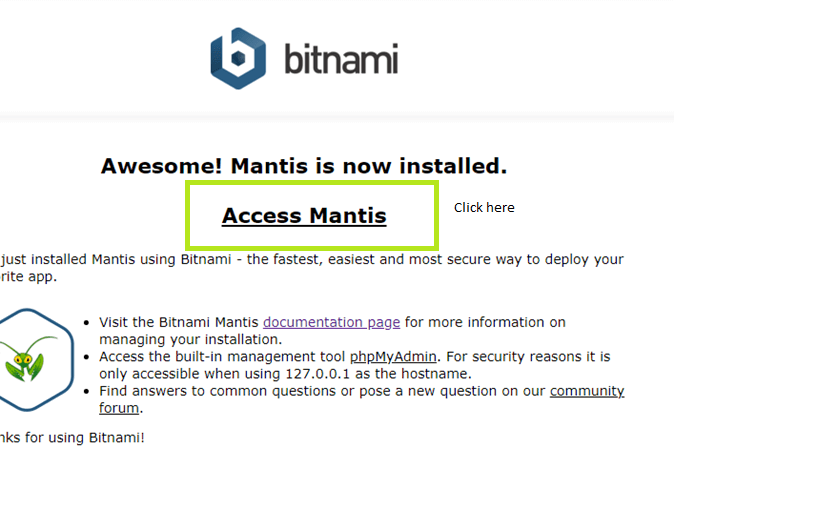
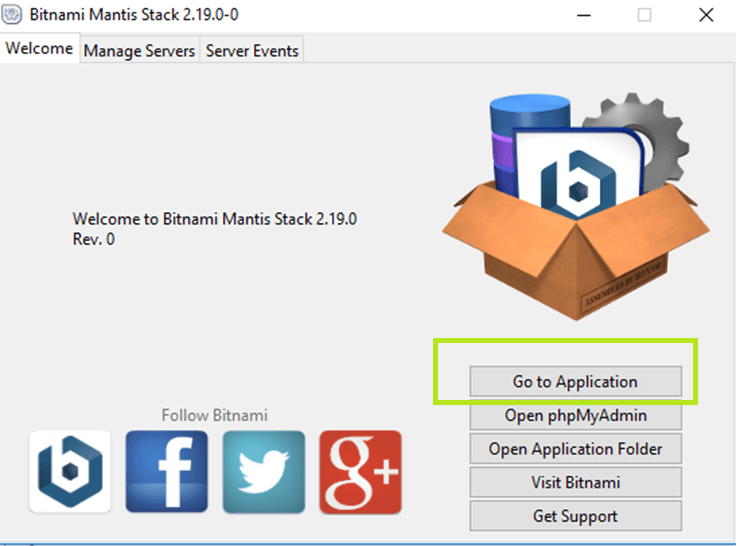
- Click on “Go To Application” and then Click on “Access Mantis”. Note the URL to access Mantis. It is the portnumber you chose while installation. http://localhost:81/mantis/login_page.php. It will open the login page. The user can also directly access MantisBT using the URL: http://127.0.0.1/mantis/
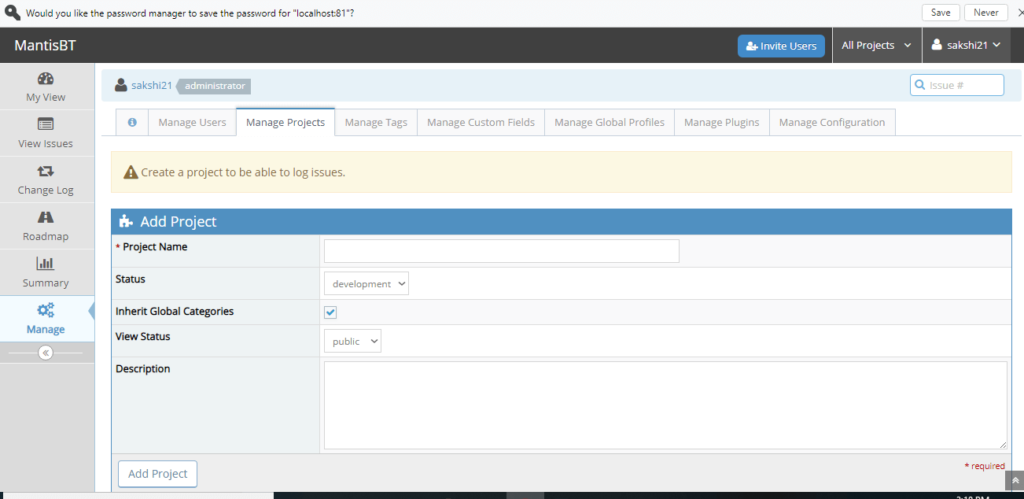
- Enter the username, the one which was entered while installation ->Enter the password in Next window. On successful login, the administrator account will open where the admin can add/edit/configure projects, users, user access, email notifications, and all other features.
- When the user wants to log out, he can do so by going to account and selecting “logout”. The next time, the user wants to access Mantis, the following steps should be followed.
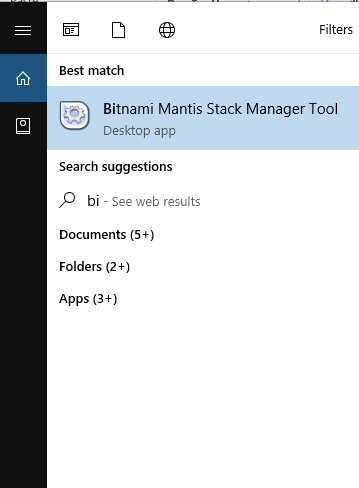
- Open Start Window->Select Bitnami Stack Manager Tool. It will open the Bitnami app from where the user can “Go to the application”. This will start the Apache Server.
- The user can also directly access MantisBT using the URL: http://127.0.0.1/mantis/
- If some other port is used to listen to the server then URL will be http://127.0.0.1:18080/mantis/, if port 18080 is used.
- For accessing Mantis remotely, appropriate IP address or hostname should be used instead of 127.0.0.1

Additional Information
Let us also have a look at some other features of Bitnami Application.
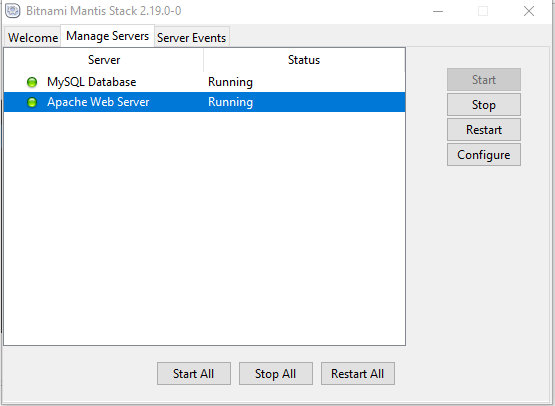
- The “Manage Servers” shows the apps which are run
- The installation process will create several subfolders under the maininstallation directory:
apache2/: Apache Web server.
PHP/: PHP Scripting Language.
MySQL/: MySQL Database.
apps/
mantis/: Mantis application folder
conf/: Mantis Apache configuration files
htdocs/: Mantis PHP application files
phpMyAdmin/: phpMyAdmin application folder (optional)
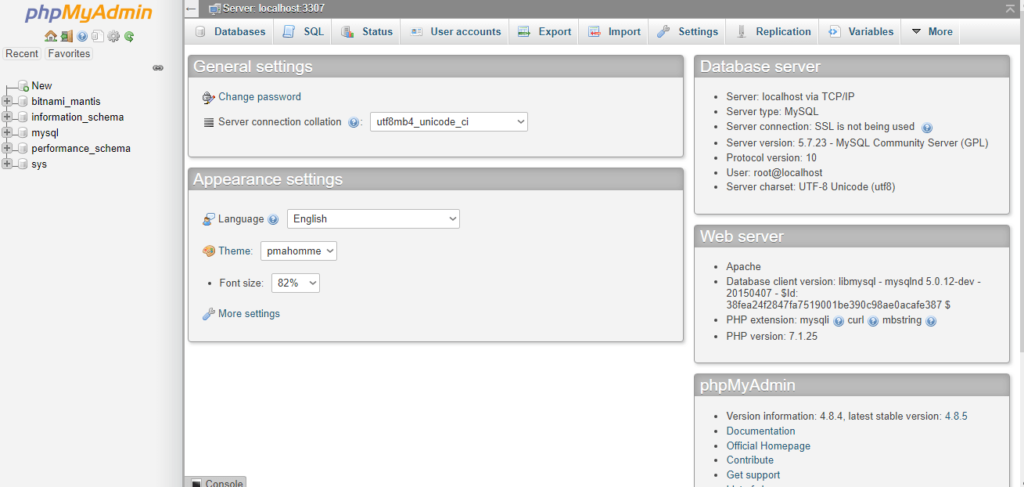
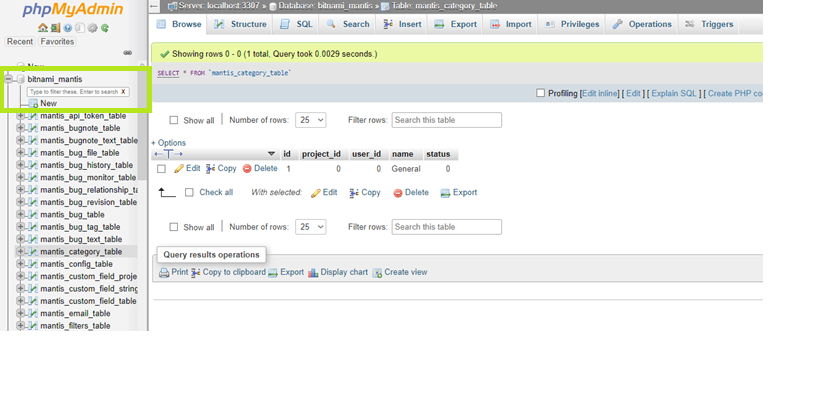
- To access phpMyAdmin, the username used will be “root” and password is the same as the entered password during installation.The database “bitnami_mantis” contains all the Mantis configurations done by the admin on the account. The data is stored in tables and can be accessed using queries.
Sever: localhost: 3307
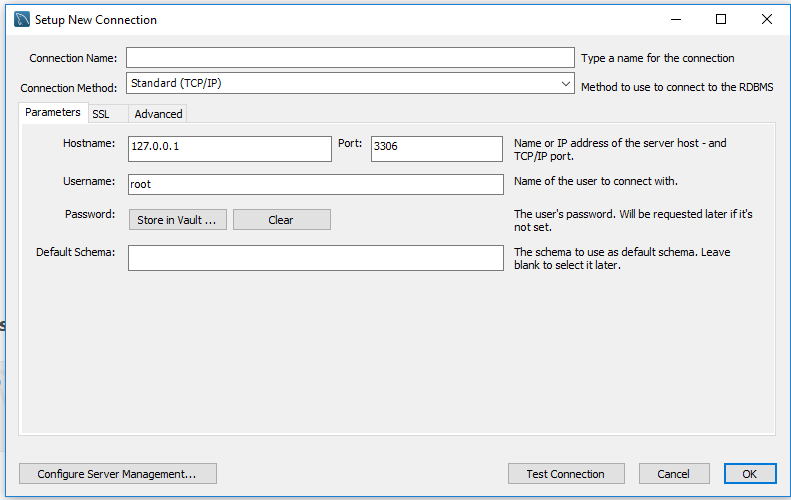
- To access MySql, open the MySql workbench and set up a new connection.
Enter any connection name -> select connection type “TCP/IP” -> username: root and password set during installation ->Enter the port number entered for MySQL access during installation -> Click on Test Connection. The connection made will be successful ->Successful login will open the SQL workbench.

Conclusion
In this tutorial, we have seen how to install Mantis Bug Tracker using Bitnami Application. There are several other ways to install Bitnami using WAMP, XAMPP server. Next, we will take a look at a trial set up of Mantis Web Version.
⇓ Subscribe Us ⇓
If you are not regular reader of this website then highly recommends you to Sign up for our free email newsletter!! Sign up just providing your email address below:
Happy Testing!!!

1 thought on “Tutorial #3: Installation of Mantis Bug Tracker on Windows”
Hi,
Mantis is discontinued by Bitnami for windows.
Please help to install.
Thanks,R