Introduction
In the last chapter, we discussed how to assign a test case to a test plan in Testlink tool in order to make it ready for execution under the current project. In this chapter, we are going to discuss how to Create A User In TestLink and how this user can be assigned an appropriate role.
Default Roles And Access Rights In Testlink Tool:
Before we get into the procedure for an user creation and assigning role to this user in Testlink tool. Let us take a look at what all different default roles are present in TestLink and what kind of accesses are available to these user roles in the Testlink tool.
| S No. | Role | Test Cases | Test Metrics |
| 1. | Guest | View | View |
| 2. | Tester | Execute | View |
| 3. | Senior Tester | Edit & Execute | View |
| 4. | Leader & Admin | Edit & Execute | Edit & Execute |
| 5. | Role | Test Cases | Test Metrics |
Getting started by making sure that Testlink application is up and running:
As a regular practice, it is important to make sure Apache Web Server and MySQL database are up and running before we can start working on testlink tool. In case, you find that either Apache web server or MySQL database or both are down or not started in the XAMPP control panel then you can simply start both by clicking on the Start button present opposite to these apps under the Actions column. After Apache Web server and MySQL database are started.

In the above screenshot, you can observe that Apache and MySQL elements on XAMPP control Panel has turned green which demonstrate the port number where their service could be accessed. When these elements are started, at that point in time you can also observe that the Start button has now converted to Stop button. When you want to stop or restart the Apache Web Server and MySQL database then you can simply click on the Stop button to complete the required action.
Login Into TestLink Application:
After Apache Web server and MySQL database are up and running, you can access the TestLink application at the below URL on your local machine. Shown below is the login page for TestLink tool.
http://localhost/testlink-1.9.16/login.php
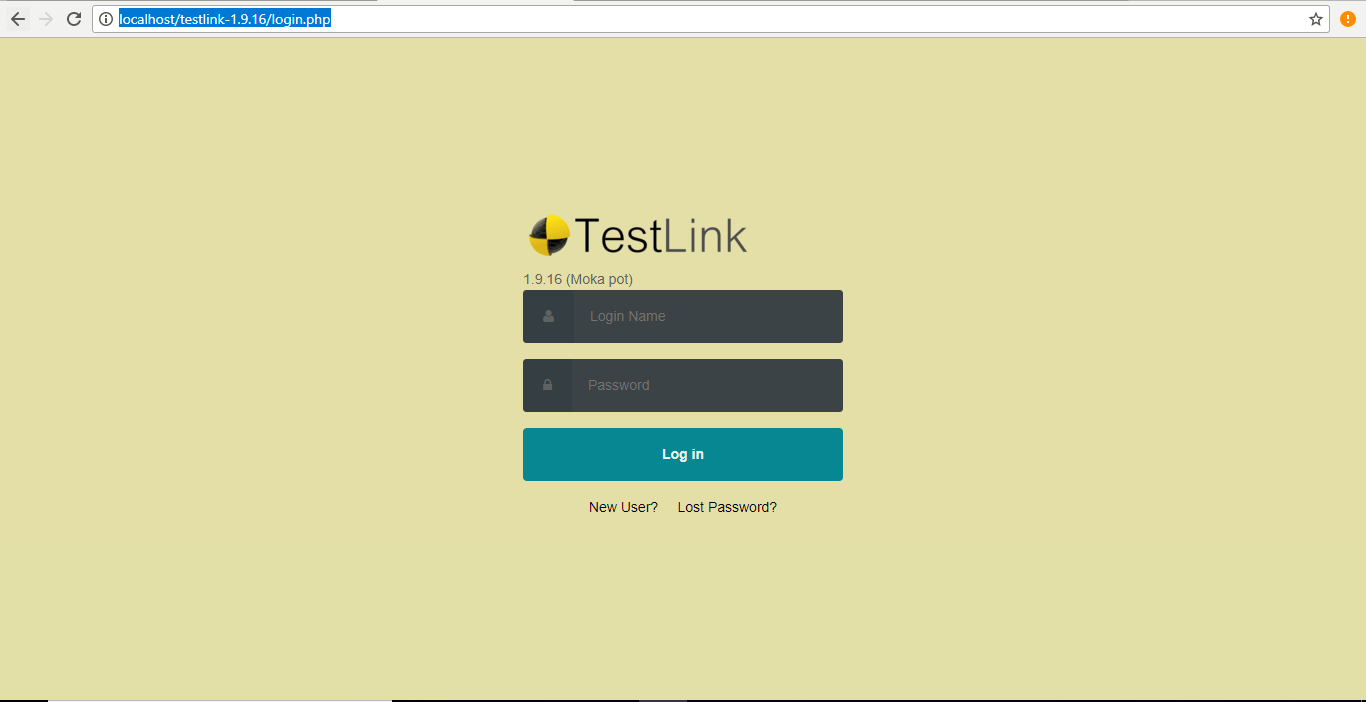
You can login into TestLink by simply entering the username and password as admin and admin respectively. After successful login, it will take you to Test Project Management where you can create a new project as shown below.
Create A User In TestLink Tool:
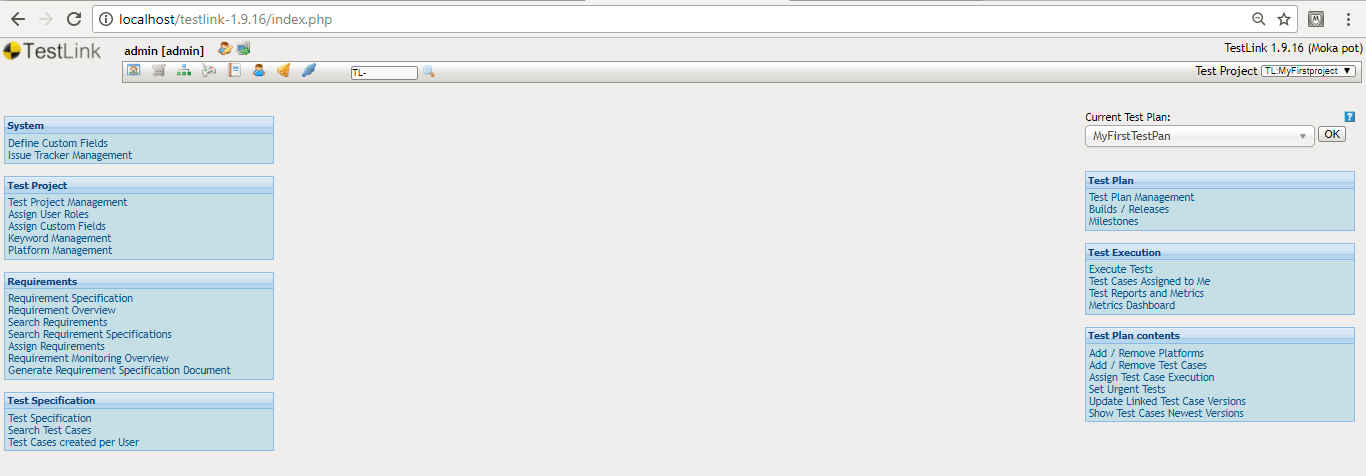
We can create a user in Testlink tool by simply clicking on the user icon which is present at the top menu of the home page as shown below.

Step 1: Click on the user icon present in the menu. It will open up a new page which will list down all user which are present in the Testlink as shown below.
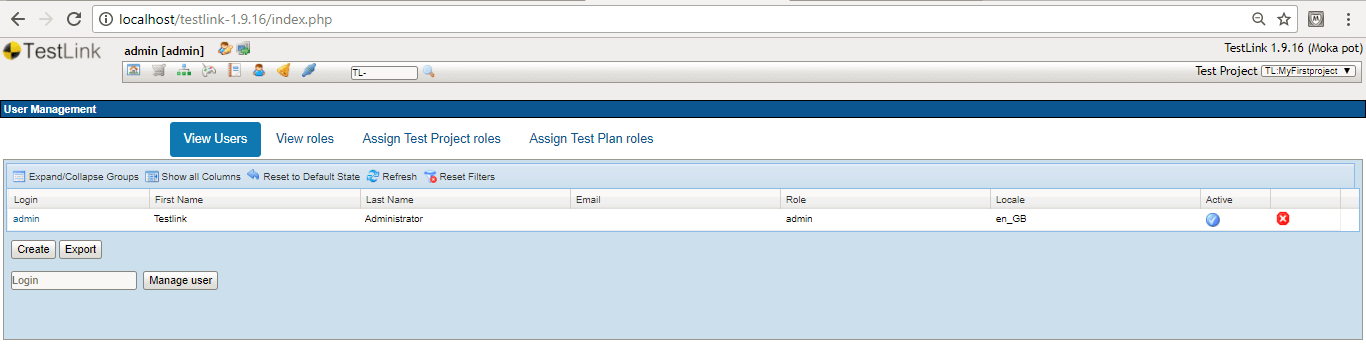
Step 2: Currently, you are logged in as admin and you can see here the list of all users which have their account in the current Testlink’s project. Click on the ‘create’ button to start a new user creation procedure. It will open up a new form on the web page as shown below.
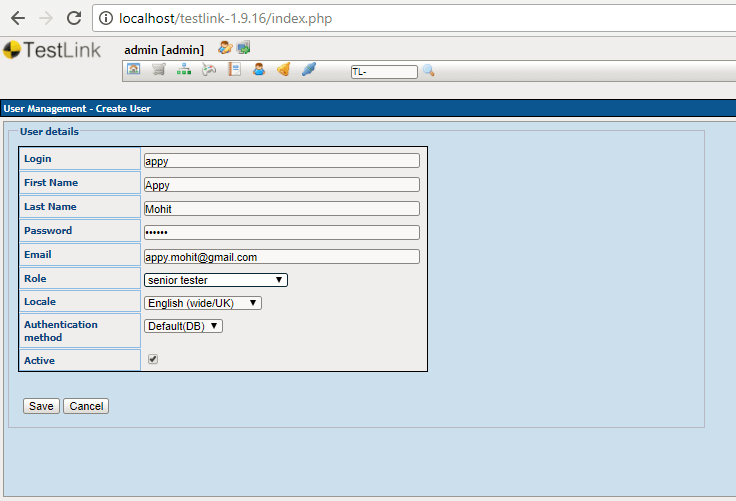
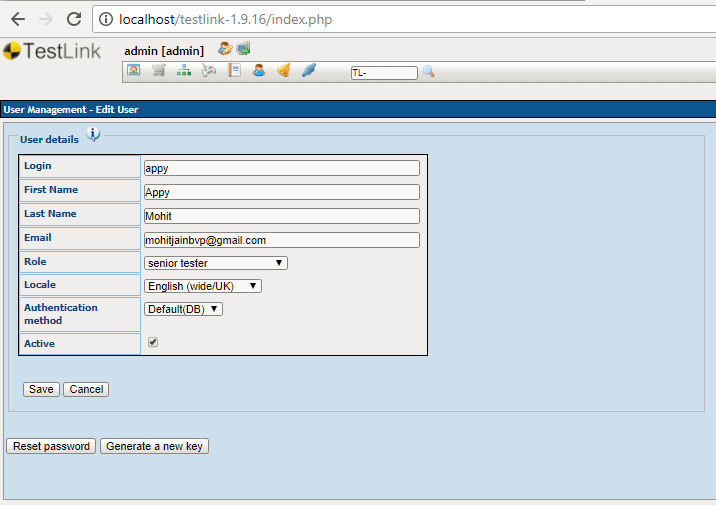
Step 3: Fill up the form to enter user details into the following fields which are present on a user creation page in Testlink.
- Login: This is the login id or username field where user’s unique login id has entered with which he or she can log into testlink system with an assigned role.
- First name: It is used to enter the first name of the user.
- Last name: It is used to enter the last name of the user.
- Password: User has given a password here which could to used for authentication while login into Testlink application with its login id.
- Email: It is an email id of the user on which he will be receiving email notification of the project status and activities.
- Role: An user can be assigned any available customized role or default role which will limit its access right at the project level in the Testlink application. The available default roles in Testlink are guest, tester, senior tester, leader, admin, and test designer. Here, we have chosen the role as “Senior tester” for user “appy”.
- Locale: This drop-down menu helps to set up the Locale language and region wise setting for a user in the Testlink tool.
- Authentication method: This dropdown menu decided the authentication method to be used. There are two authentication methods available in Testlink tool. They are DB and LDAP methods. We are going to use DB as the authentication method for user “appy”.
- Active: When this checkbox is checked then the current user status is active. If this checkbox is unchecked, then the user becomes inactive. If a user is inactive then it cannot access the Testlink tool with assigned credentials.
Step 4: Click on the save button to complete the new user creation with login id as “appy”. If you have changed your mind and don’t want to create an user now, then simply click on the cancel button in order to cancel the current user creation.
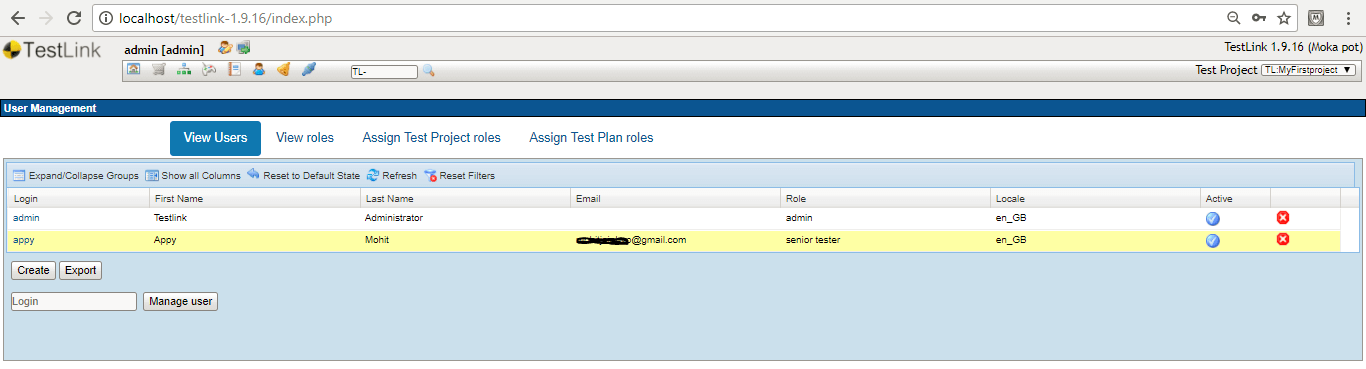
Step 5: In the above screenshot, we can clearly observe that a new user with login id as “appy” has successfully created.
Step 6: If a user wants to reset the password or get its any information updated in the form, then click on the username link to get open the edit form which has Save button at the bottom to persist the updated user details in Testlink tool. The same form has the reset password button present at the bottom of the page through which a new password can be reset as shown below. Testlink tool also provides the provision to generate a new key.
Test the login for a new user “appy”
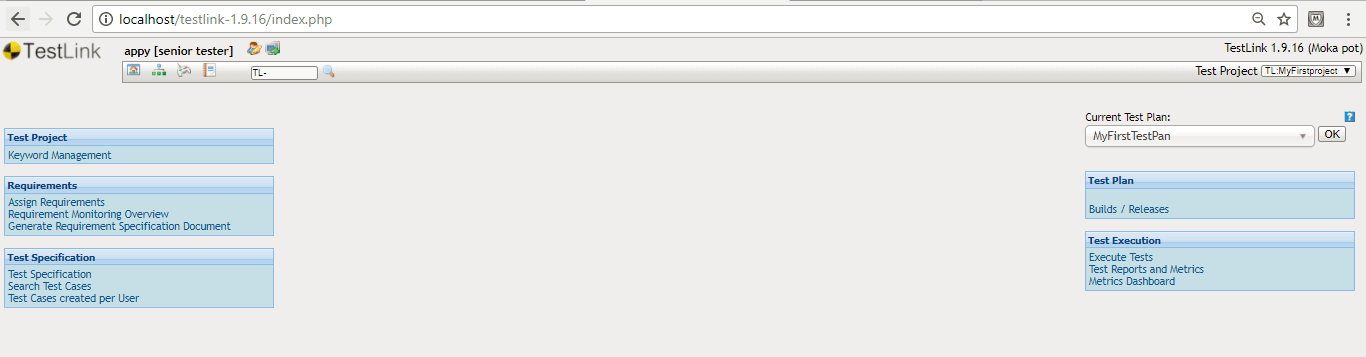
Log out of the Testlink tool with your current credential as “admin” and try to login with a new login id as “appy” and password which you have provided at the time of user creation.

After providing the new user credentials and hitting the ‘log in’ button, you can observe that “appy” with a role as the senior tester has successfully logged into the system as shown below.
Conclusion
In this chapter, we discussed the Create A User In TestLink and assigning a role to this new user in the Testlink tool.
If you are not a regular reader of this website then highly recommends you Sign up for our free email newsletter!! Sign up just providing your email address below:
Happy Testing!!!
