In the last chapter, we discussed “Creating Test Suite And Test Cases In TestLink” tool. In this chapter, we are going to discuss how to Assigning Test Case To Test Plan in TestLink test management tool.
Getting started by making sure that Testlink application is up and running:
As a regular practice, it is important to make sure Apache Web Server and MySQL database are up and running before we can start working on testlink tool. In case, you find that either Apache web server or MySQL database or both are down or not started in the XAMPP control panel then you can simply start both by clicking on the Start button present opposite to these apps under the Actions column. After Apache Web server and MySQL database are started.

In the above screenshot, you can observe that Apache and MySQL elements on XAMPP control Panel has turned green which demonstrate the port number where their service could be accessed. When these elements are started, at that point in time you can also observe that the Start button has now converted to Stop button. When you want to stop or restart the Apache Web Server and MySQL database then you can simply click on the Stop button to complete the required action.
Login Into TestLink Application:
After Apache Web server and MySQL database are up and running, you can access the TestLink application at the below URL on your local machine. Shown below is the login page for TestLink tool.
http://localhost/testlink-1.9.16/login.php
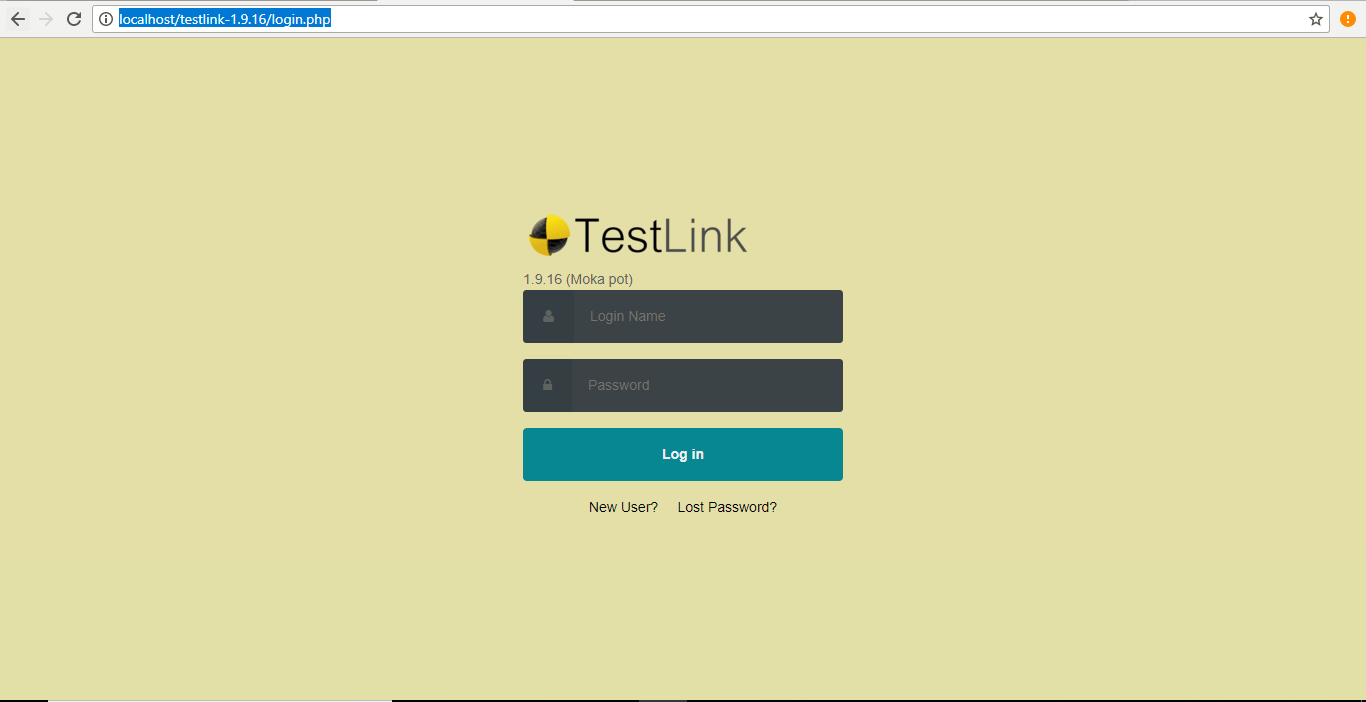
You can login into TestLink by simply entering the username and password as admin and admin respectively. After successful login, it will take you to Test Project Management where you can create a new project as shown below.
Assigning Test Case To Test Plan:
In TestLink tool, we can make any test case to get ready for execution by simply assigning it to a test plan present in the project. Let us first revise the procedure through which we have created a test case “Test Case 1” in the last chapter.
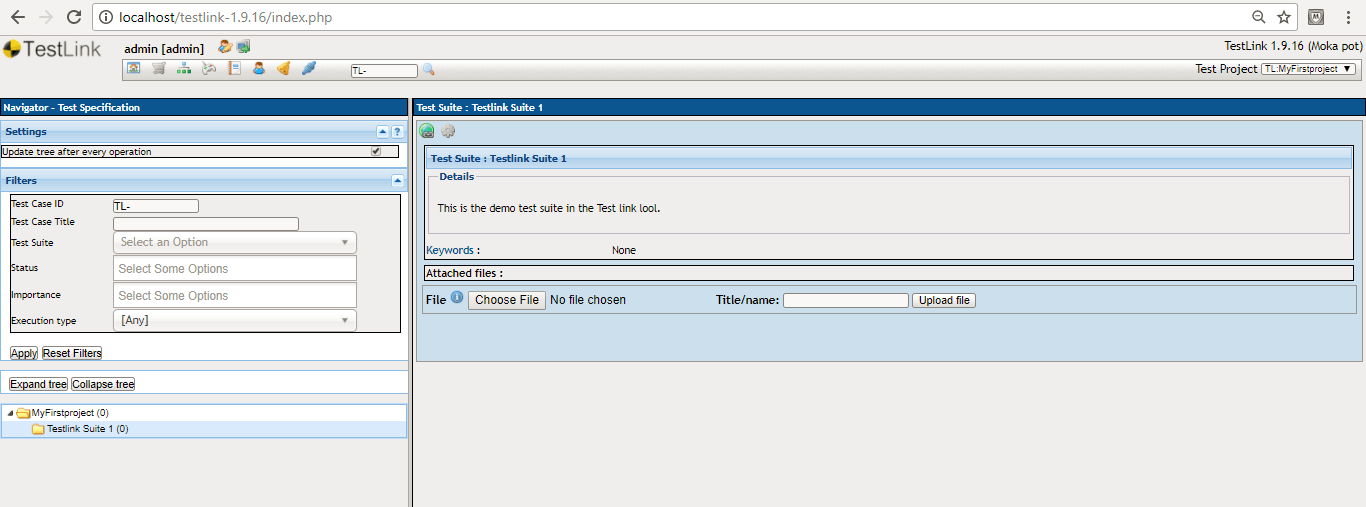
Step 1: Click on the test suite “test suite 1” which we have just created in the last step. It will open up the Test suite page on the right-hand side of the panel as shown below.
Step 2: Click on the setting button present at the top of the right-hand side panel. It will open up two rows. One for Test suite operations and another one for Test case operations as shown below.
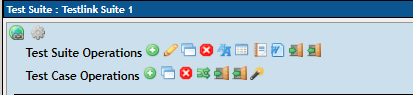
Step 3: Click on the “+” button for Test case operations. It will open up a form for a new test case creation as shown below.
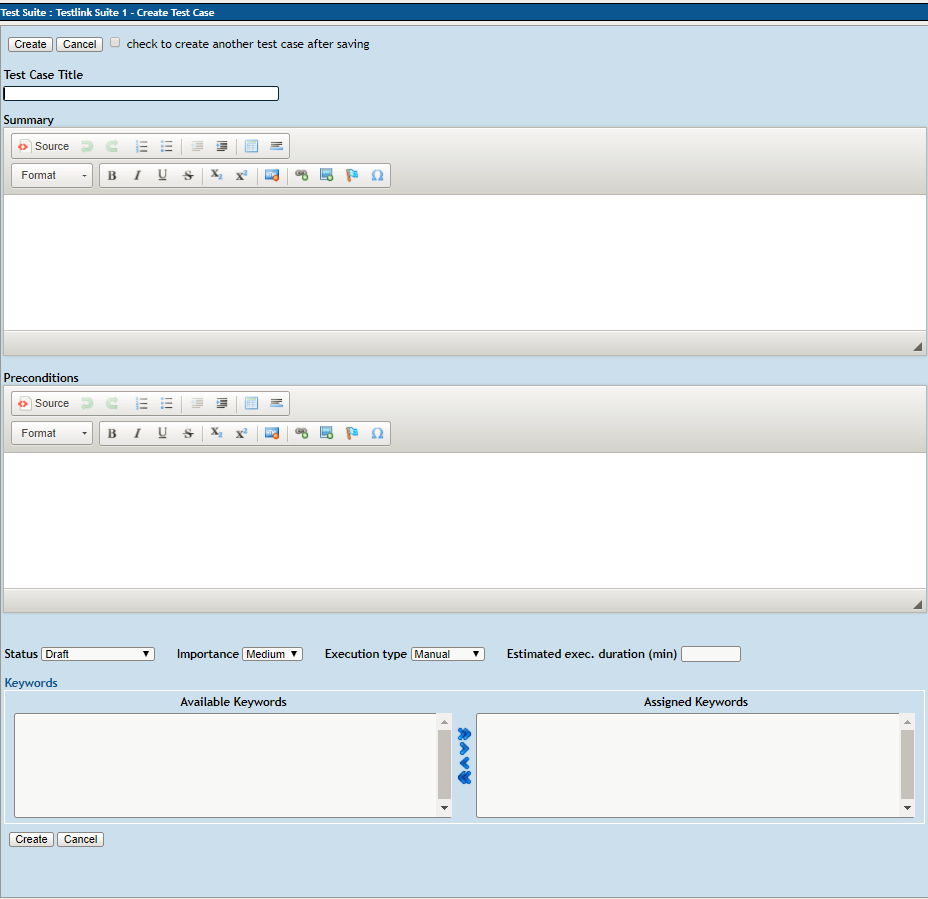
Step 4: Fill the test case form providing the Test Case name, summary, preconditions, status, importance, execution type, and estimated execution duration in minutes. Below is the description of the various Test case fields present in the Test Case form.
- Test case name: Provide any relevant name to the test case. Here, we have provided “test Case 1”.
- Summary: Here, you need to provide the test case summary i.e. what exactly this test case is testing as the application behavior or scenario.
- Precondition: Specify if there is any condition required before we can execute this test case.
- Status: We can assign a status to a test case as Draft, Ready for review, Review in progress, rework, Future, Obsolete, or Final from the drop-down menu
- Importance: We can assign importance to the Test case as Low, Medium, or High from the drop-down menu.
- Execution Type: We can select execution type as Manual or automated from the drop-down menu.
- Estimated exec. duration (min): Here can specify the estimated time that test case will take to complete its execution.
Step 5: After filling up these details, we can click on the create button present at the bottom of the page to complete the creation of the Test case. Any time you can click on the cancel button when you want to cancel the creation of the current Test case.
Once the test case is created, the Testlink tool will assign it a unique Test Case id “TL-1” as shown below. The test case will be automatically added to the parent Test suite under which it was created (here Test suite 1).

Steps To Assign Test Case “Test Case 1” to Test Plan “MyFirstTestPan”:
Step 1: Click on the Test Specification link on the Testlink homepage. It will display the existing Test suite (here “Testlink Suite 1”) and underlying Test Cases (here “TL-1 Test Case 1”) within the Test Suites as shown below.

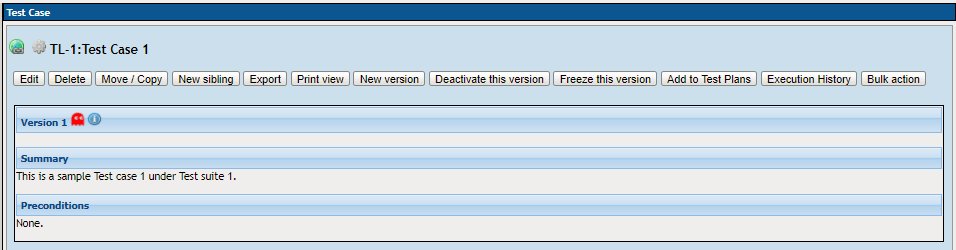
Step 2: Click on “TL-1 Test Case 1” link, it will open up a Test case window on the right side as shown below.
Step 3: Click on the setting button present at the top of the right-hand side panel (here Test Case Panel). It will open up a row of multiple buttons as shown below.
Step 4: Click on the ‘Add to Test Plans’ button. It will open up another page which will list down the available Test Plans present in the current Testlink project as shown below.

Step 5: Check the checkbox which is present opposite to “MyFirstTestPan” Test plane and click on the Add button to complete adding this Test Case to the Test Plan. Testlink tool provides the flexibility to add a particular test case to multiple Test Plans present within the same project. If you have changed your mind and don’t want to add a current test case to any of the available test plans, then you can click on Cancel button to cancel the addition of the test case to the test plan.
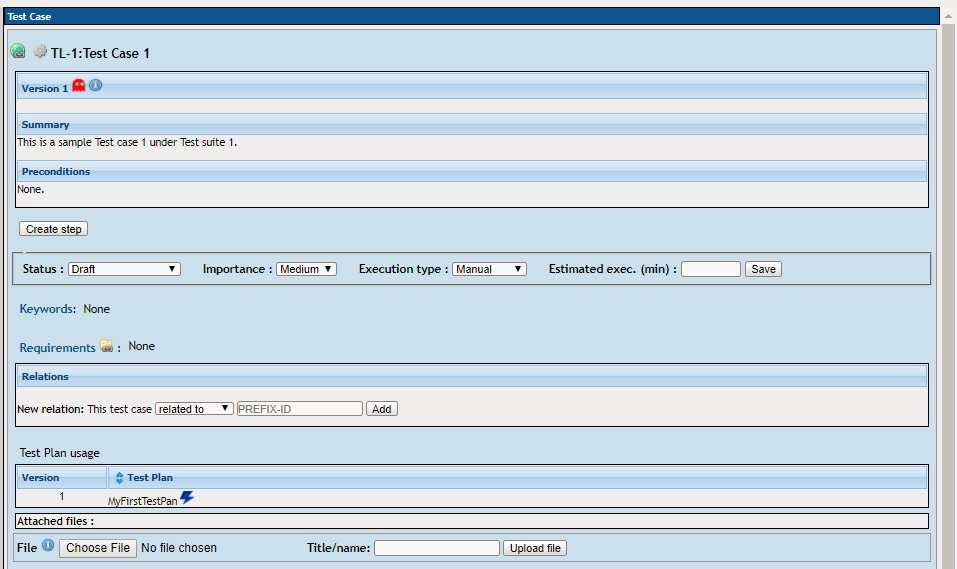
In the above screenshot, you can observe that the Test plan “MyFirstTestPan” has Test case “TL-1 Test Case 1” added to it successfully.
Conclusion:
In this chapter, we first revised the procedure for creation of the test case then we demonstrated the steps to add that Test case to the Test Plan in order to make it ready for execution
If you missed any article then you can check out the list on “TestLink Tutorial Series For Beginner to Advanced“.
If you are not a regular reader of this website then highly recommends you Sign up for our free email newsletter!! Sign up just providing your email address below:
Happy Testing!!!
