In the last chapter of TestLink tutorial, we completed the Installation of TestLink tool from scratch. We installed TestLink version (NEW!!!! – 1.9.16 – Moka Pot – 20170121). Since TestLink tool is an open source Test management tool, therefore, it does not require any license to be purchased but you are open to conducting donation at any time to TestLink development team as a token of gratitude towards their kind services and software maintenance. Below is the TestLink download link, also you may find the donation button where a donation could be made.
Now coming to the point, in this chapter we are going to demonstrate the creation of TestLink Test plan and build creation. In order to work on TestLink tool, we should make sure that Apache Web Server and MySQL database are up and running. In the last tutorial, we have downloaded and installed XAMPP application where we found Apache web server as well as MySQL database. We can check the status of Apache Web Server and MySQL database by simply monitoring XAMPP Control panel.
In case you find that either Apache web server or MySQL database or both are down or not started in the XAMPP control panel then you can simply start both by clicking on the Start button present opposite to these apps under the Actions column. After Apache Web server and MySQL database are started, you can see their status on XAMPP control panel as shown below
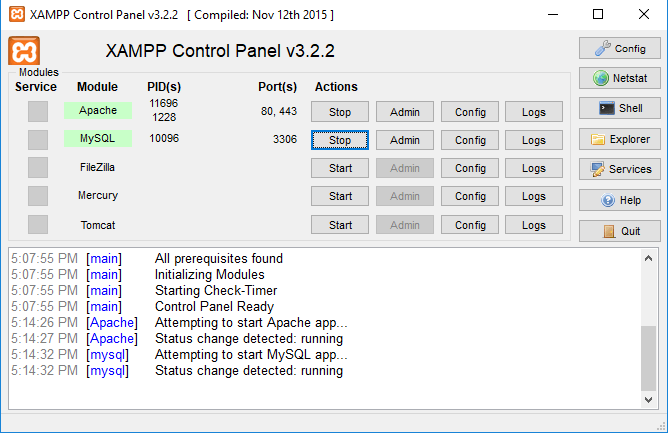
In the above screenshot, you can observe that Apache and MySQL elements on XAMPP control Panel has turned green which demonstrate the port number where their service could be accessed. When these elements are started, at that point of time you can also observe that the Start button has now converted to Stop button. When you want to stop or restart the Apache Web Server and MySQL database then you can simply click on the Stop button to complete the required action.
Login to the TestLink application:
After Apache Web server and MySQL database are up and running, you can access the TestLink application at the below URL on your local machine. Shown below is the login page for TestLink tool.
http://localhost/testlink-1.9.16/login.php
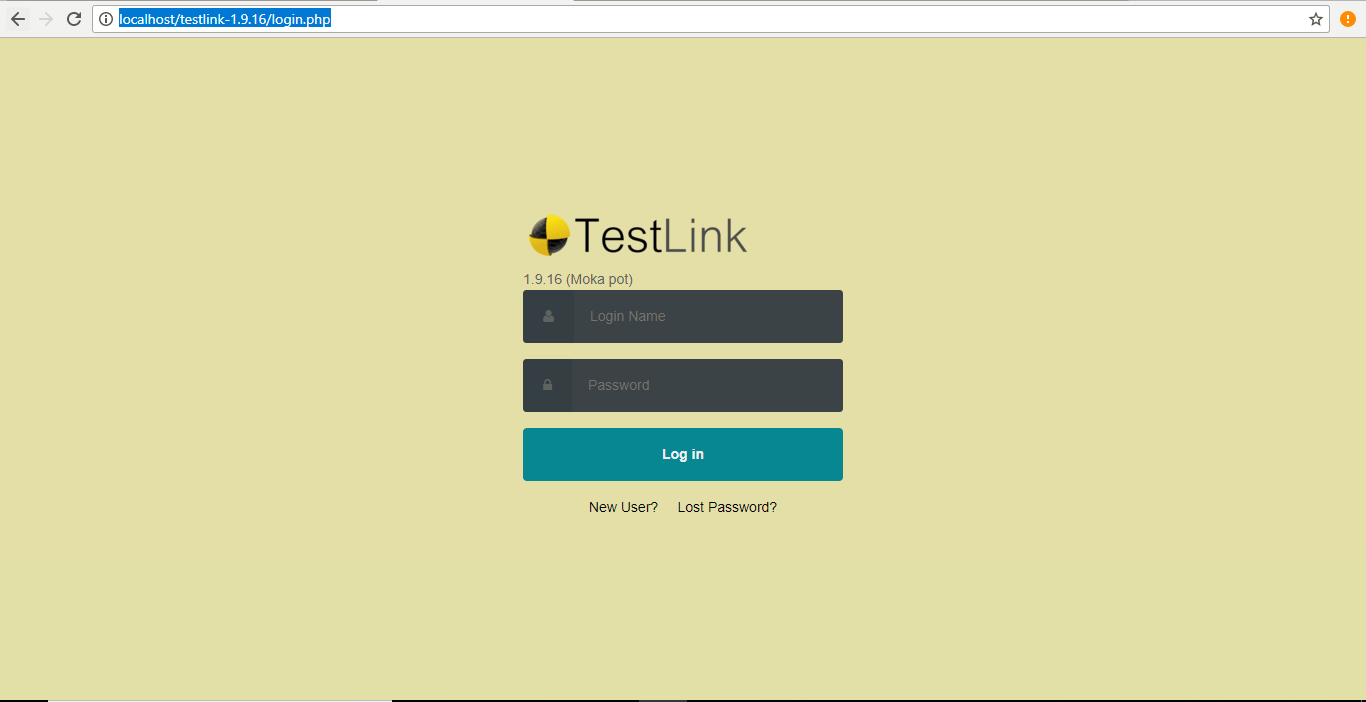
You can login into TestLink by simply entering the username and password as admin and admin respectively. After successful login, it will take you to Test Project Management where you can create a new project as shown below.
Creating a Test Plan in Testlink tool:
Software test plan is a document which holds the detailed information such as testing scope, testing activities, milestones, test suites and test cases, etc. Test Plan is the next step in the creation of the Test Project in the TestLink tool. We can create Test Plan in TestLink by simply obeying the following steps in the given sequence.
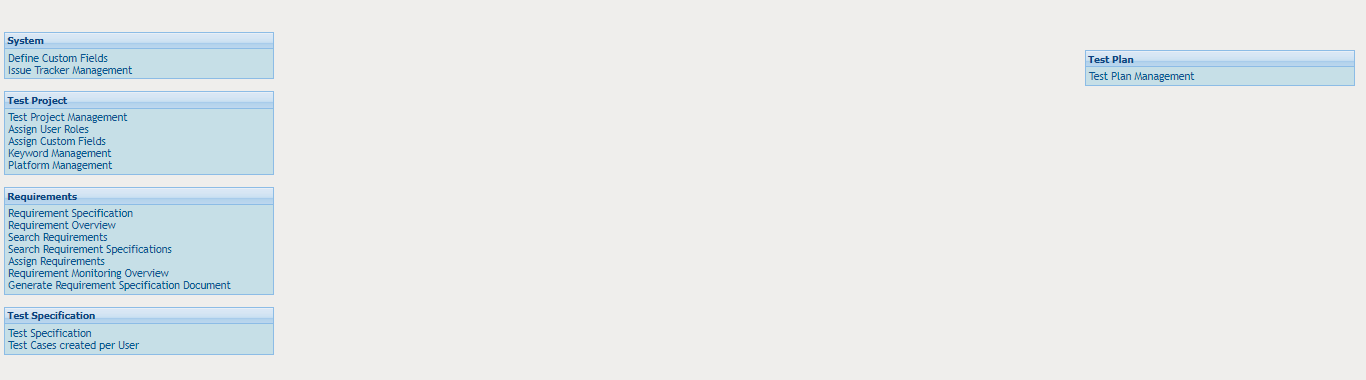
Step 1: After login into TestLink application. You will observe the home-page as shown below. To start creating a Test Plan, you need to click on the Test Plan Management link which is present on the home-page.
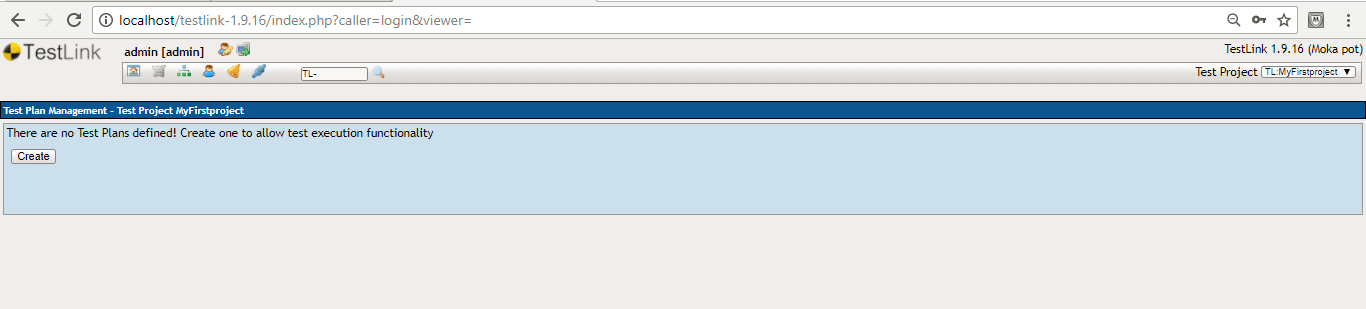
Step 2: After clicking on the Test Plan Management link, it will take you to another page, where you will find a “Create” button at the bottom of the page as shown below. Click on this button.
Step 3: The “create” button when clicked, it will take you to another page where you will be asked to fill out all the required information such as name, description, active, public, etc. as shown below.
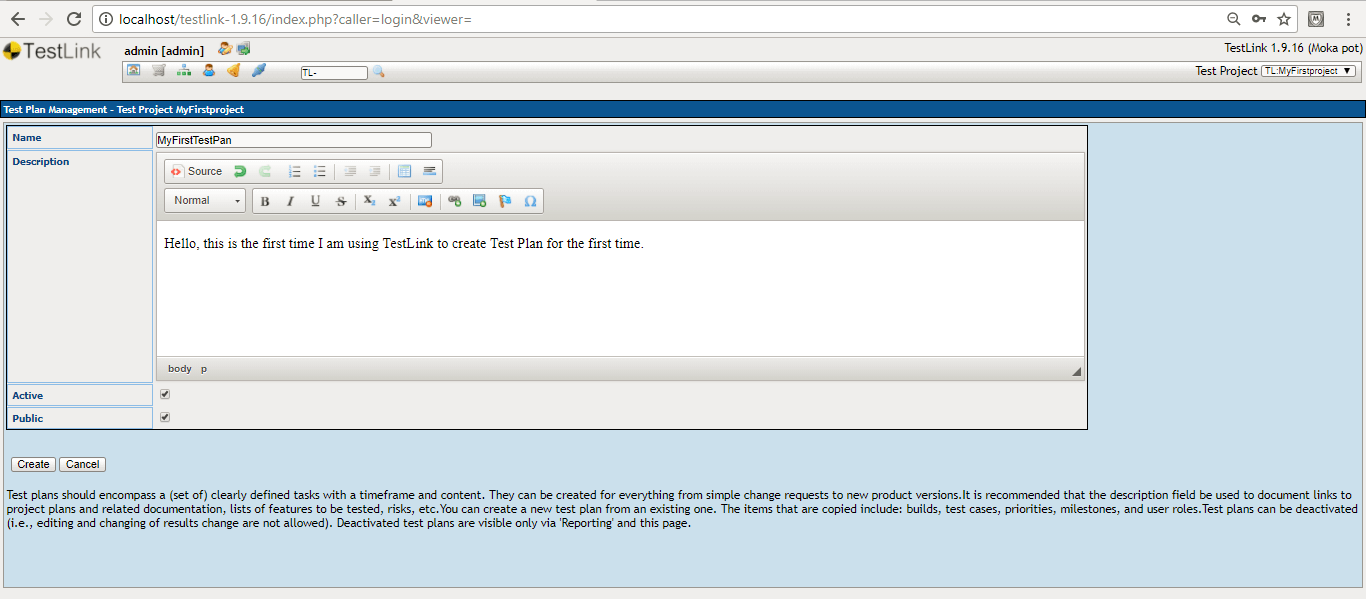
Here, you can enter the name as “MyFirstTestPan” or some other the name of your own choice for the Test Plan. Next, provide a description of the Test Plan. You can check or uncheck the Active and Public Checkboxes depending on the status and visibility of the Test Plan respectively.
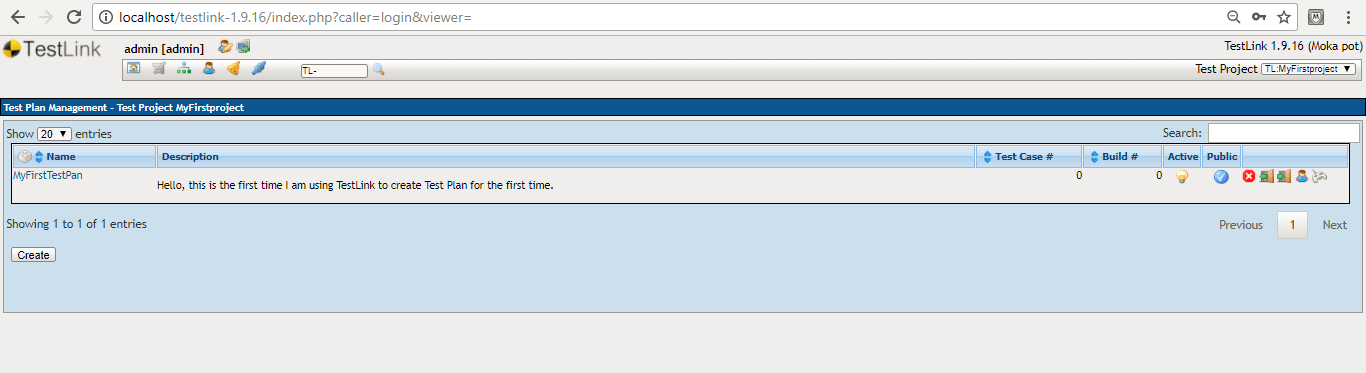
Step 4: Click on the Create button present at the bottom of the form to complete the creation of the Test Plan “MyFirstTestPan”. You can anytime click on the cancel button when you have decided not to create any such Test Plan in the current project. Test Plan “MyFirstTestPan” has created successfully as shown below.
Creating a Build in Testlink tool:
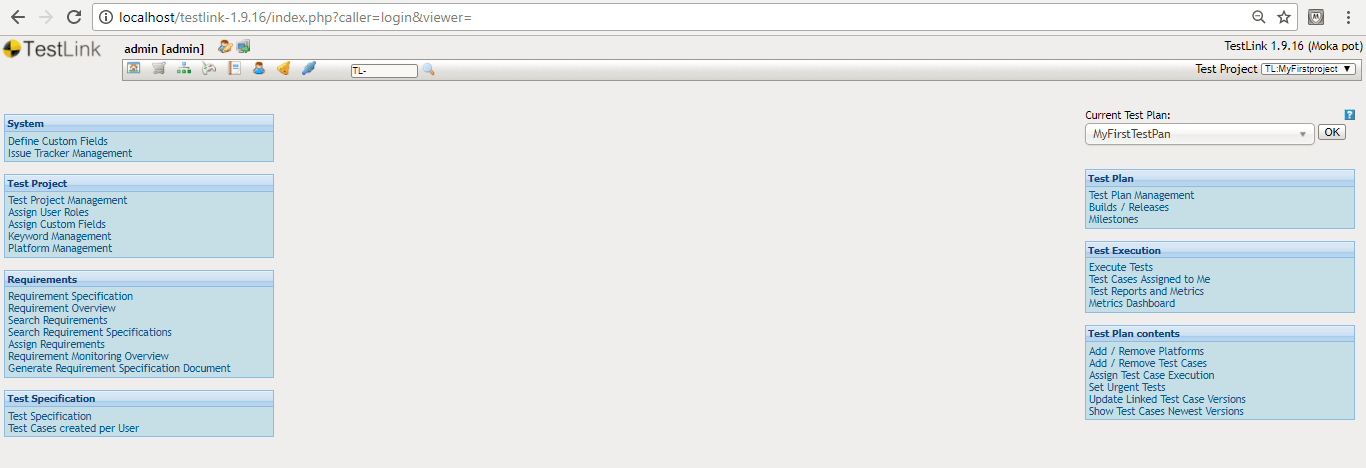
After creation of the Test Plan, you will observe that the “Build / Releases” link has activated on the home page as shown below.
The build is nothing but represents a particular software release. We can create Build in TestLink by simply obeying the following steps in the given sequence.
Step 1: After login into the TestLink application. You will observe the home-page as shown above. To start creating a Build, you need to click on the Build / Releases link which is present on the home-page.
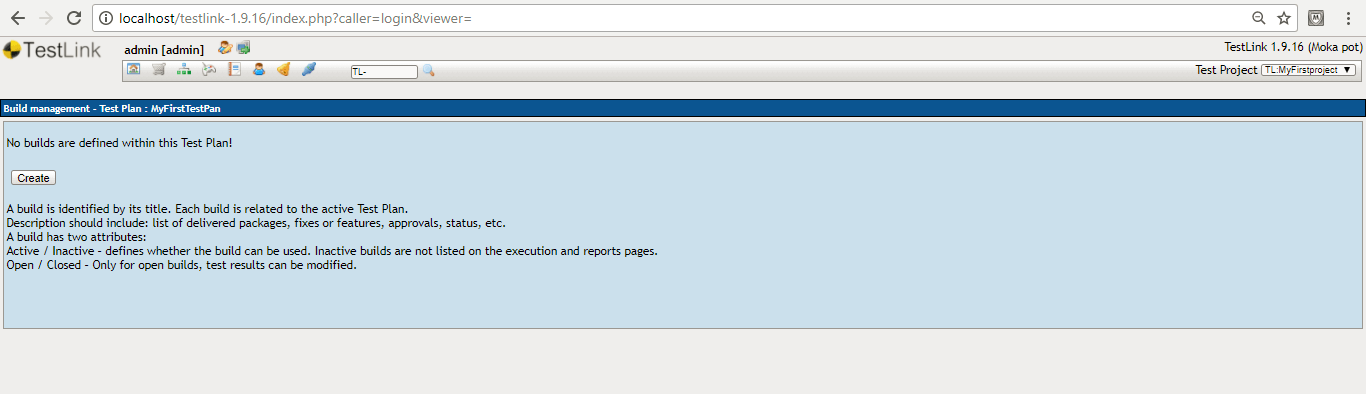
Step 2: After clicking on the Build / Releases link, it will take you to another page, where you will find a “Create” button at the bottom of the page as shown below. Click on this button.
Step 3: The “create” button when clicked, it will take you to another page where you will be asked to fill out all the required information such as Title, description, active, open, Release date, etc. as shown below.
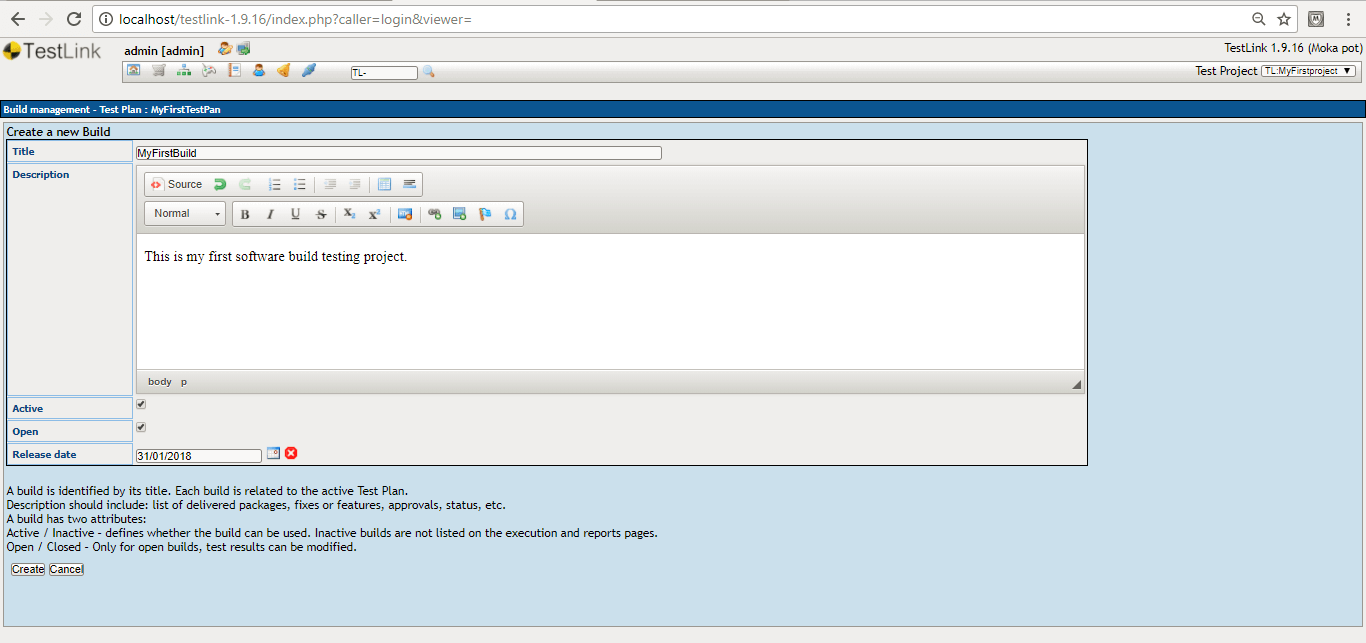
Here, you can enter the name as “MyFirstBuild” or some other the name of your own choice for the Build under testing. Next, provide a description of the Test Build. You can check or uncheck the Active and Open Checkboxes depending on the status and visibility of the Test Build respectively. Lastly, you need to provide a Release date when you build will be released to the production.
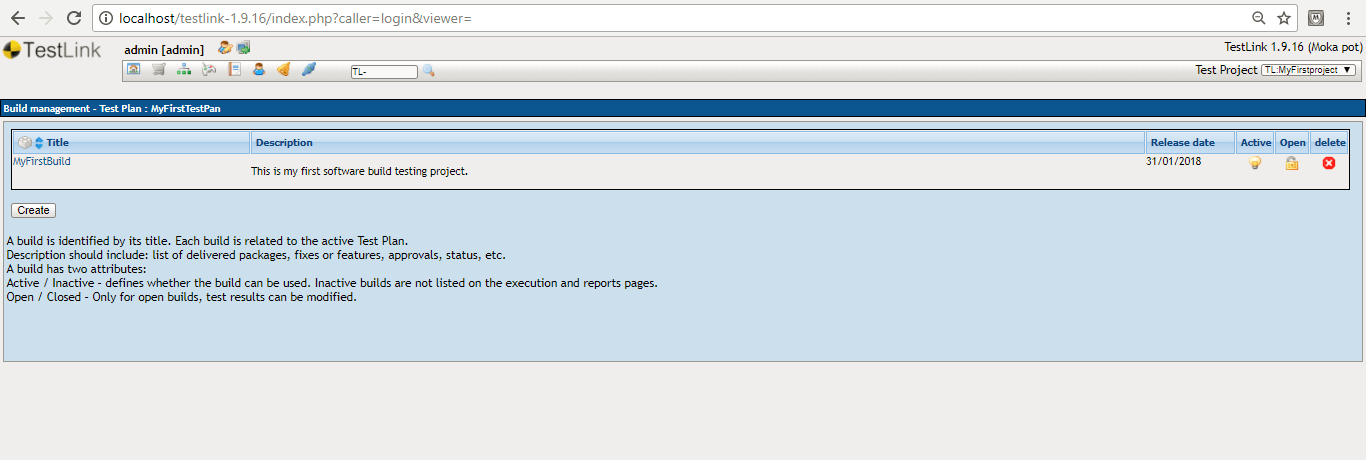
Step 4: Click on the Create button present at the bottom of the form to complete the creation of the Test Build “MyFirstBuild”. You can anytime click on the cancel button when you have decided not to create any such Test Build in the current project. Test Build “MyFirstBuild” has created successfully as shown below.
Conclusion:
In this chapter, we discussed the creation of Test plan under Test Project as well as the creation of the Build in TestLink tool with the help of suitable examples.
<<<<–
If you are not a regular reader of this website then highly recommends you Sign up for our free email newsletter!! Sign up just providing your email address below:
Happy Testing!!!
